
 +86-0573-88528475
 English
 русский

Search by posts
Product category
Industry News
 By Admin
Installing a Flagpole: Practical Guide to Bases, Materials, and Secure Setup
A flagpole that starts leaning after the first strong wind usually failed at the base, not at the flag. The pole may be perfectly straight, the halyard tight, and the flag the right size, but a shallow hole, an unplumbed sleeve, or a mount that does not match the pole's load will undo all of it. For a permanent yard flagpole, the reliable order is simple: choose the location, locate utilities, set a sleeve in concrete, let it cure, then raise the pole. For a portable PVC hand-waving flagpole, skip the concrete and focus on pole fit, base stability, and wind relief. That difference matters because installing a flagpole covers two very different jobs. One is a small construction project. The other is assembly and safe handling at an event, storefront, or vehicle. This guide gives the practical sequence for both, with the tolerances and checks that prevent rework. Content Before shopping for a pole, decide how it will be held. A permanent in-ground flagpole needs a sleeve and a concrete footing sized to the pole height, soil, and wind exposure. A temporary event flagpole may need only a weighted base, a ground stake, or a hand-held grip. Mixing those methods causes most installation problems: a light PVC pole forced into a permanent sleeve can rattle, while a tall metal pole dropped into a portable base can tip. Read the table as a procurement check, not a menu of interchangeable parts. The mount dictates the pole's butt diameter, the hardware, and the installation time. If the pole and mount come from different suppliers, confirm the fit before the return window closes. For a permanent flagpole, locate the utility lines before digging. In the United States, call 811; in other regions, use the local one-call service. Mark the proposed hole, then check overhead power lines, property lines, irrigation, and drainage. A flagpole placed in a low spot will sit in water, and a pole placed too close to a roof edge may suffer turbulent wind. Choose a spot with clear access for the concrete mix and enough room to work around the hole. Keep the flag's swing path clear of trees, gutters, and windows. For a portable PVC pole, the site is simpler but still matters: avoid crowded walkways, overhead obstructions, and vehicle traffic. A hand-waving flagpole that blocks sightlines at a checkout counter or creates a trip hazard at a venue entrance will be moved, and repeated moving loosens mounts. Use the pole manufacturer's dimensions first. The following sequence reflects common residential practice, but local frost depth, soil bearing capacity, and pole height can require a larger footing. Two checks prevent most callbacks. First, the sleeve must be plumb after the concrete is placed, not only before. Second, the concrete crown must shed water. A flagpole base that holds water will show movement, rust, or cracked concrete long before the pole itself fails. Portable PVC flagpoles are assembled rather than excavated. The work is in matching the pole to the flag and the mount. Start by checking the pole diameter against the base, bracket, or grip. A loose fit will wobble; a forced fit can split the pipe or crack the fitting. For hand-held use, the pole should feel balanced with the flag attached, not tip-heavy at the top. For desk, floor, or vehicle mounts, assemble the base first, then attach the flag, then raise the pole. Keep the flag clear of the ground during assembly. If the mount uses a set screw, tighten it by hand until snug, then a quarter turn. Over-tightening crushes thin-wall PVC and creates a stress point. For outdoor use, add a weight to the base or choose a larger-footprint stand; the flag acts as a sail, and a light base that feels stable indoors can slide on pavement. Walking or parade mounts need a different check. Confirm that the pole is secured at the grip and that the flag cannot wrap around the user's face or arms. Shorten the flag or lower the pole in gusty conditions. Portable PVC flagpoles are not substitutes for permanent, engineered flagpoles; they are event and display tools, and they should be taken down when wind exceeds the supplier's limit. Match the flag area to the pole's stiffness. A large flag on a thin pole will whip, fatigue the pipe, and make the mount work harder. For portable PVC hand-waving flagpoles, ask for the supplier's recommended maximum flag size for each diameter and wall thickness. If the pole is too flexible, reduce the flag size before adding more base weight; a heavier base does not stop the pole from bending above the mount. Material choice is mostly about use. PVC is lightweight, rust-free, and safer for hand-held and indoor use. Aluminum and wood suit different permanent or decorative applications, but they bring weight, maintenance, and finish requirements. For a closer look at how plastic pipe flagpoles compare by material and construction, see this guide to material choices for plastic pipe flagpoles. For custom sizes, confirm the outside diameter, wall thickness, color, and fitting type before ordering; small dimensional differences become visible at the mount. Suppliers that work in PVC can also adjust formulations for stiffness, color, and outdoor exposure. Confirm UV stabilization and RoHS compliance in writing for the destination market, especially when the flagpoles will be used outdoors or resold under a private label. Wind does not push evenly on a flagpole; it creates leverage. A long pole multiplies the force at the base, which is why a footing that looks generous for a calm day can fail in a storm. For permanent poles, the concrete mass, soil type, and sleeve depth work together. Sandy or loose fill soil may need a wider footing than dense clay. For portable poles, the weakest point is usually the base connection or the user's grip. Before each use, check the pole for cracks, deep scratches, and loose fittings. Retire any PVC pipe that has been bent sharply or crushed at a set screw. Check the base for movement, missing weights, and worn pads. Keep flags away from power lines, and do not raise a metal or wet pole near electrical equipment. If the wind is strong enough to pull the flag taut and make the pole hum, take it down. For a single residential install, buying the pole and sleeve as a matched set removes guesswork. For events, retail, or distributor orders, inspect a production sample before the full run. Check the pipe diameter, wall thickness, color consistency, fitting fit, and flag attachment method. Confirm that the packaging protects the poles in transit; scuffs and ovalized pipe ends create installation problems later. Custom PVC work should be specified in writing: dimensions, tolerances, color, surface finish, and hardware. Ask how the supplier controls wall thickness and straightness, and request a sample from the same production batch when color matters. If the flagpole is part of a promotional display, test one assembled unit with the actual flag in light wind. That test reveals more than a dimensional drawing. For buyers comparing plastic pipe flagpole options, review the plastic pipe flagpole range and confirm which mounts are supplied with each pole. Do not assume that a hand-waving pole, a desk pole, and a vehicle pole share the same fitting. The installation is only as good as the smallest connector. A safe flagpole installation has a short, clear handover. For permanent poles, the sleeve is plumb, the concrete is cured, the drain path works, and the pole sits fully in the sleeve. For portable PVC hand-waving flagpoles, the pole fits the mount, the flag is within the supplier's limit, the base is heavy enough for the surface, and the user knows when to take it down. Check those items before the first flag goes up. If one item is uncertain, fix it before adding wind.Start With the Mount, Not the Pole
Mount type
Base preparation
Typical use
Main risk
In-ground sleeve with concrete
Hole at least 2 ft deep and wide; gravel drainage; sleeve set plumb
Permanent yard or commercial flagpole
Shallow footing, poor drainage, or sleeve out of plumb
Direct ground stake
Compact soil; stake driven below frost line or manufacturer's depth
Small temporary signs and lightweight poles
Loose soil and leverage on the stake
Wall bracket
Fasteners matched to siding, masonry, or studs
House-mounted flagpoles
Water intrusion and pull-out at the fastener
Portable PVC hand-waving pole
Weighted base, desk stand, vehicle mount, or hand grip
Events, promotions, parades, indoor display
Base too light for flag size or gusty wind
Site Selection and Underground Checks
The Permanent In-Ground Installation Sequence
Installing Portable PVC Hand-Waving Flagpoles
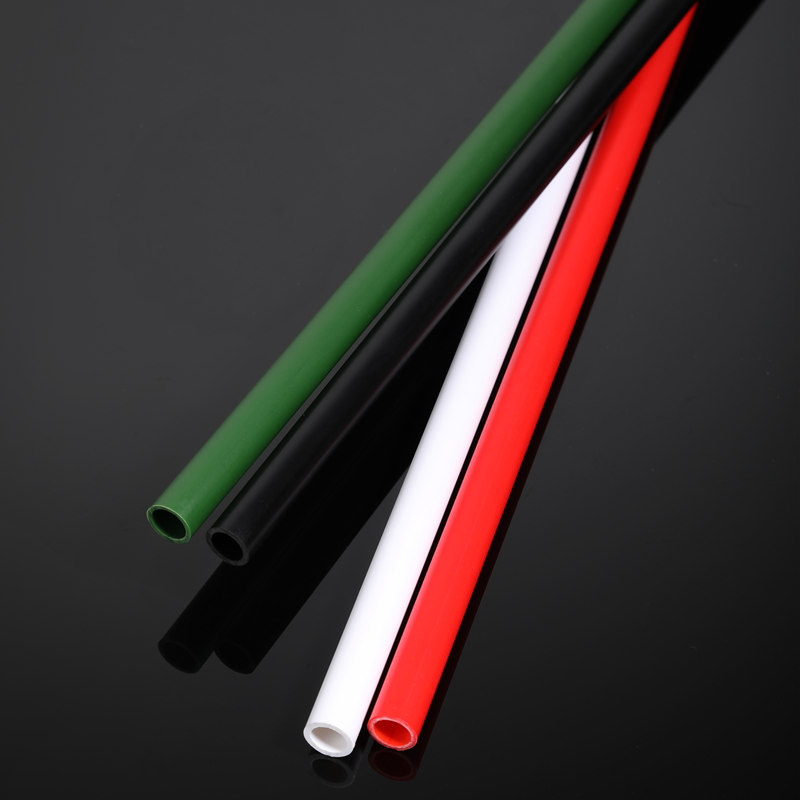 Custom Plastic Hand-Waving Flagpole for EventsLightweight customizable plastic flagpole from GY, offered with size, color, printing, and packaging options for wholesale hand-held flag use.View Product →
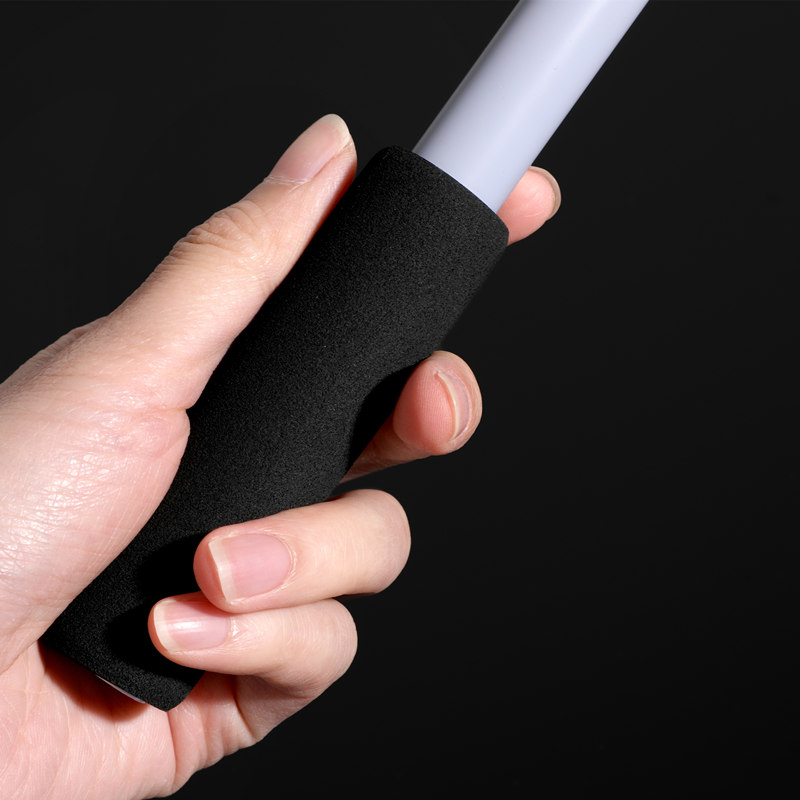 Personalized Festival Walking Mount Hand-Waving FlagpoleCustomizable lightweight plastic flagpole for walking and festival flag displays, with size, color, graphics printing, and OEM/ODM options for bulk orders.View Product →
Choosing Pole Diameter, Flag Size, and Material
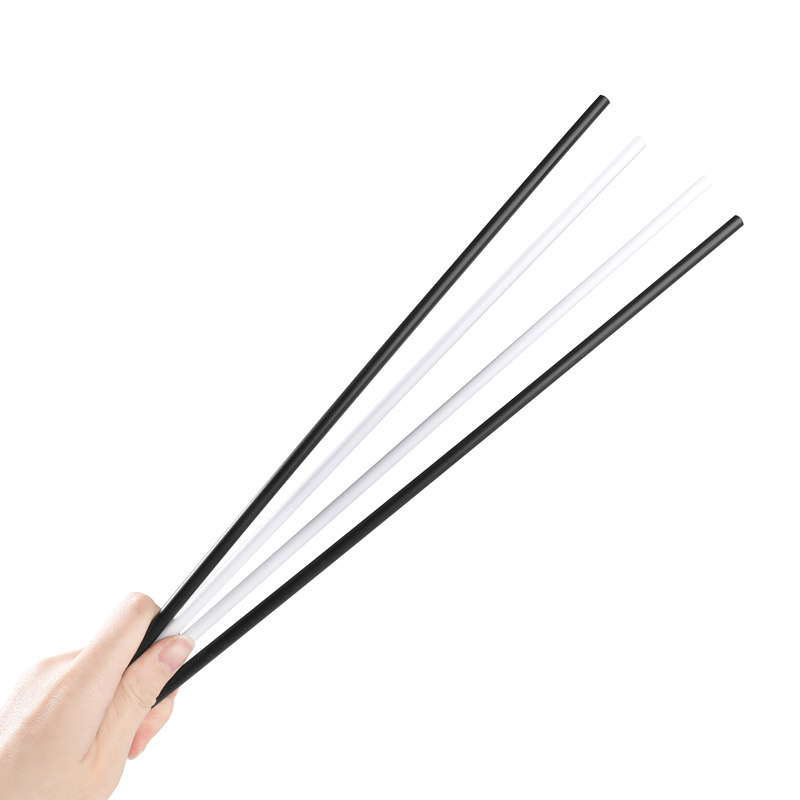 Wholesale PVC Hand-Waving Flagpole for Sports and GamesCustomizable lightweight plastic flagpole with size, color, and printing options, supplied in bulk for sports, games, and hand-waving flag use.View Product →
Wind Load, Ground Conditions, and Safety Checks
Ordering, Inspection, and Handover
Recommended products
-
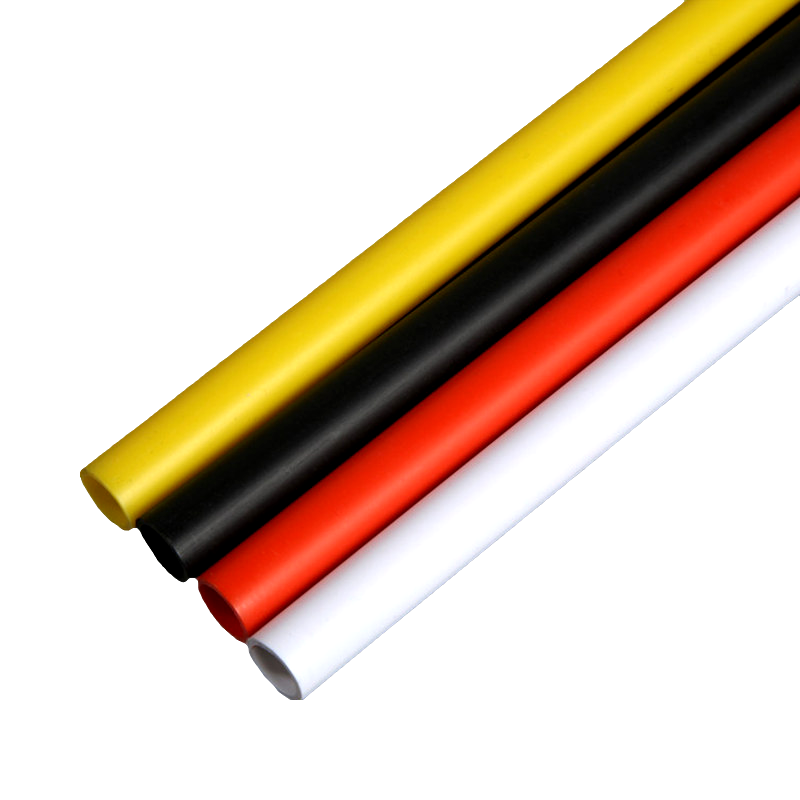
2023 New Cheap Plastic Pipe Multiple Colors And Sizes Custom Hand Waving Flagpole
-
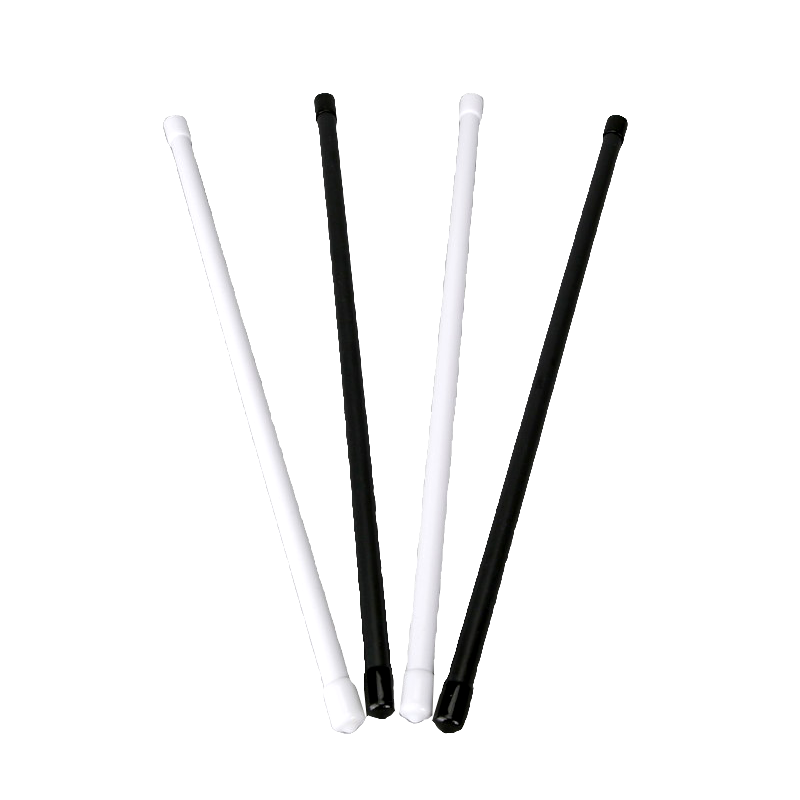
Wholesale Custom Pvc Material Indoor Desktop Flagpole Hand Waving Flagpole
-
Customizable Size Custom Logo Plastics Hand Waving Flagpole Big Pvc Flagpole
-
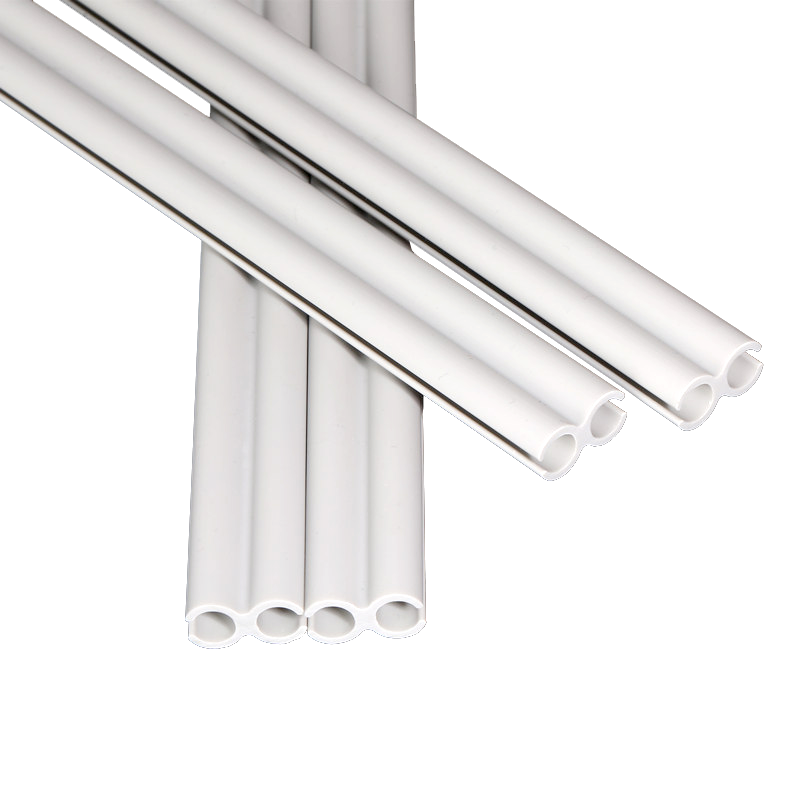
Plastics Hand Waving Flagpole Factory Direct Custom Wholesale PVC Flagpole Parts Pipe
-
Custom Easy Install Safety Flagpole Pvc China Factory Hand Waving Flagpole
-
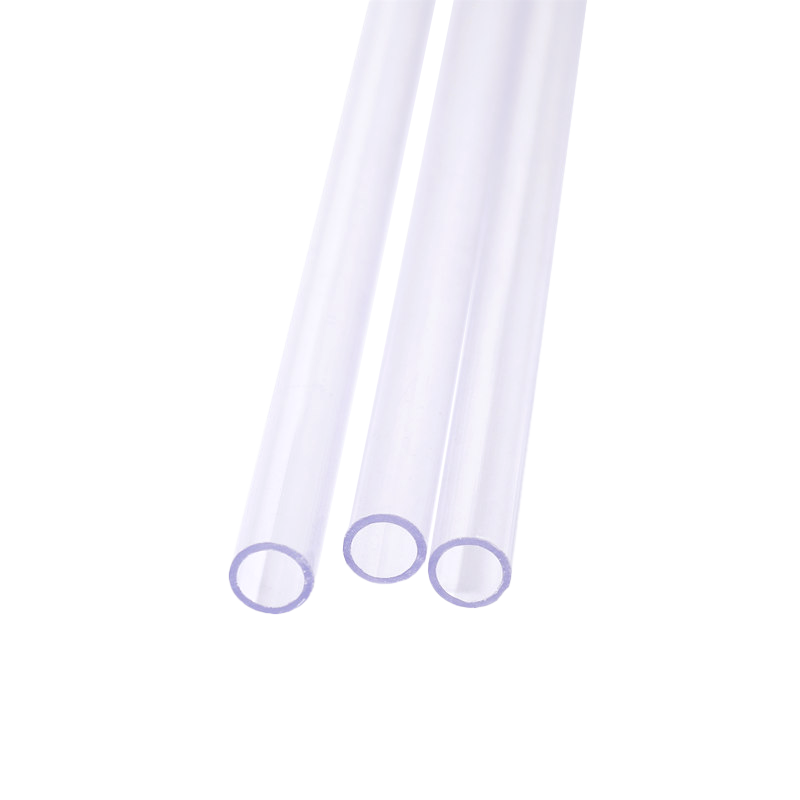
New Popular Product Transparent Pvc Flagpole Custom Size Hand Waving Flagpole
-
2023 High Quality Hand Waving Flagpole Big Or Small Flagpole Size Custom
-
Fast Delivery Promotion Factory Wholesale Flagpole Pvc Pipe Hand Waving Flagpole
-
2023 Personalized Custom Desk Hand Waving Flagpole Outdoor White Flagpole
-
Wholesale 2023 Hot Sale Used Flagpole Weight Custom Pvc Hand Waving Flagpole
-
Wholesale Products Cheap High Quality Hand Waving Flagpole Newest Sections Flagpole
-
Wholesale Cheap High-Quality Hot Sale Flagpole Cylindrical Hand Waving Flagpole
Follow Us:
Copyright © Tongxiang Guangyu Plastic Products Co., Ltd. Rights Reserved.
