 +86-0573-88528475
 English
 русский
Search by posts
Product category
Industry News
 By Admin
How to Install a Flagpole: Step-by-Step Guide for Residential & Commercial Use
Choosing the Right Location and Getting Permits
A flagpole is only as good as where you put it. Before breaking ground, walk your property and identify a spot with clear sightlines from the street, no overhead power lines, and enough open sky for the flag to fly without catching on trees or structures. A minimum 10-foot clearance radius from any building or fence is a solid starting point for most residential installs.
Once you have a location in mind, check with your local municipality. Flagpoles 15 feet or taller typically require a building permit, and some homeowners' associations impose additional height caps—often 20 or 25 feet. Failing to secure a permit can mean fines or forced removal. Before any digging, call 811 to have underground utilities marked; this step is free and mandatory in most states. For a detailed permit checklist covering engineering approvals, setback requirements, and FAA clearances near airports, refer to flagpole installation permit requirements and compliance steps.
With permits in hand and utilities marked, you're ready to move to the physical work.
Content
Tools and Materials You'll Need
Having everything on-site before you start saves significant time. Here's what a standard in-ground flagpole installation requires:
- Flagpole kit (pole sections, truck/pulley assembly, halyard, cleat, snap hooks, ornament ball, ground sleeve)
- Post-hole digger or power auger
- Quick-set concrete mix (typically 3–4 x 60 lb bags for a 20-foot residential pole)
- Bucket and water for mixing
- 4-foot level
- Measuring tape
- Trowel
- Play sand (for sleeve fill after pole insertion)
- Safety gloves and eye protection
For the ground sleeve specifically, you have two main choices: metal sleeves offer maximum permanence, while PVC sleeves are lightweight and work well for shorter poles or installations where future removal is a possibility. An easy-install PVC flagpole designed for fast setup comes with a pre-fitted sleeve, cutting prep time considerably. If you need poles and sleeve components in bulk or for multiple install sites, factory-wholesale PVC flagpole pipe and parts are available direct from the manufacturer.
Digging the Hole and Setting the Ground Sleeve
The depth of your hole determines long-term stability. A reliable rule: dig to roughly 10% of the flagpole's total height, with a minimum of 2 feet for any residential pole. So a 20-foot pole needs a 2-foot deep hole; a 25-foot pole needs at least 2.5 feet. The hole diameter should be approximately three times the diameter of your ground sleeve to allow concrete to distribute evenly around it.
Once the hole is dug, add 2–3 inches of gravel to the bottom for drainage. This prevents water from pooling at the base and corroding the sleeve over time. Lower the sleeve into the hole and use your level to confirm it's plumb on all four sides. A slight tilt here will translate to a visibly crooked flagpole—take the extra two minutes to get it right. Brace the sleeve with scrap lumber or have a second person hold it steady while you move to the concrete step.
Pouring Concrete and Allowing It to Cure
Two methods exist for securing the sleeve, each with real trade-offs.
Concrete fill gives you maximum rigidity. Mix quick-set concrete per the package instructions and pour it in steady layers around the sleeve, tapping the sides with a shovel handle to dislodge air pockets. Fill to about 1 inch below grade, then smooth the surface with a trowel. Re-check plumb immediately—concrete starts setting fast, especially in warm weather, so corrections must happen within minutes.
Sand fill (inside the sleeve, after the pole is inserted) is a technique used by many professional installers for poles up to 25 feet. Sand allows a small amount of flex under high wind loads, which actually reduces the risk of the pole bending or snapping at the base. If you're wondering whether PVC pipe flagpoles can bend or break under wind stress, the sleeve-and-sand method is worth understanding before you commit to a fill approach.
Allow concrete to cure for a minimum of 24–48 hours before proceeding. Cover it with a plastic sheet in rain or use burlap to slow curing in extreme heat. Don't rush this step—the foundation needs full strength before the pole goes in.
Assembling and Raising the Flagpole
Assemble the flagpole on the ground, near the installation site. For sectional poles, align the section markings and press them firmly together—a wooden block and rubber mallet help seat stubborn joints. Attach the truck (the pulley assembly at the top), feed the halyard through the pulley, and secure the ornament ball. Inspect the halyard for fraying before the pole goes vertical.
For poles up to 25 feet, two people can walk the pole upright by hand: one person anchors the base over the sleeve while the other "walks" their hands progressively down the shaft, raising it into position. Keep the butt end directed into the sleeve throughout this process to avoid the base swinging away. Custom safety PVC flagpoles built for outdoor installation are designed with manageable weight ratios that make this two-person lift straightforward.
Once the pole is vertical and centered in the sleeve, use your level one final time. Then pack play sand into the gap between the pole and sleeve walls until the pole holds its position without support. The sand allows minor adjustments if the pole ever needs to come out for maintenance.
Attaching the Hardware and Flying Your Flag
With the pole standing, the remaining work is quick. Secure the halyard cleat to the pole at a comfortable arm height—typically 5 to 6 feet from the ground. Thread the snap hooks onto the halyard: the top hook should be positioned so the flag's header grommet connects above the lower one, keeping proper display orientation.
Attach the flag to the snap hooks, then slowly raise it by pulling the opposite side of the halyard. Once at the desired height, wrap the halyard in a figure-eight pattern around the cleat and tie it off securely. A loose halyard will slap against the pole and create noise, so a tight, clean wrap matters. If you're sourcing complete flagpole hardware in quantity, fast-delivery wholesale flagpole PVC pipe options ship with the hardware pre-included.
Going forward, inspect the halyard every season for wear and check the sleeve cap (when the pole is lowered) for debris buildup. A well-maintained installation will fly proudly for many years without structural issues.
Recommended products
-
2023 New Cheap Plastic Pipe Multiple Colors And Sizes Custom Hand Waving Flagpole
-
Wholesale Custom Pvc Material Indoor Desktop Flagpole Hand Waving Flagpole
-
Customizable Size Custom Logo Plastics Hand Waving Flagpole Big Pvc Flagpole
-
Plastics Hand Waving Flagpole Factory Direct Custom Wholesale PVC Flagpole Parts Pipe
-
Custom Easy Install Safety Flagpole Pvc China Factory Hand Waving Flagpole
-
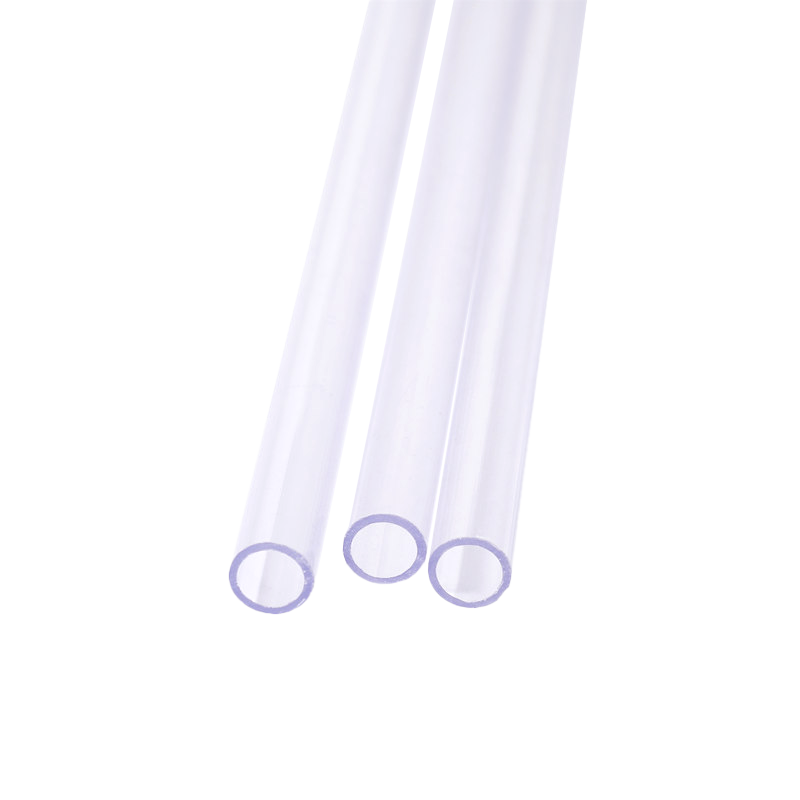
New Popular Product Transparent Pvc Flagpole Custom Size Hand Waving Flagpole
-
2023 High Quality Hand Waving Flagpole Big Or Small Flagpole Size Custom
-
Fast Delivery Promotion Factory Wholesale Flagpole Pvc Pipe Hand Waving Flagpole
-
2023 Personalized Custom Desk Hand Waving Flagpole Outdoor White Flagpole
-
Wholesale 2023 Hot Sale Used Flagpole Weight Custom Pvc Hand Waving Flagpole
-
Wholesale Products Cheap High Quality Hand Waving Flagpole Newest Sections Flagpole
-
Wholesale Cheap High-Quality Hot Sale Flagpole Cylindrical Hand Waving Flagpole


Follow Us:
Copyright © Tongxiang Guangyu Plastic Products Co., Ltd. Rights Reserved.
