
 +86-0573-88528475
 English
 русский

Search by posts
Product category
Industry News
 By Admin
how to install a flagpole in the ground: Practical Applications, Selection, Performance
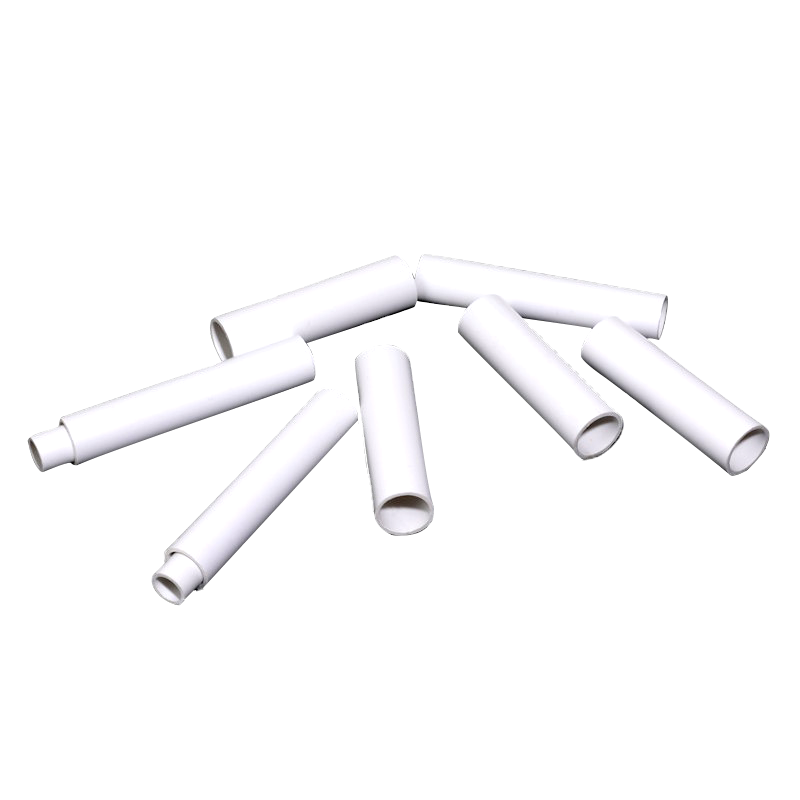
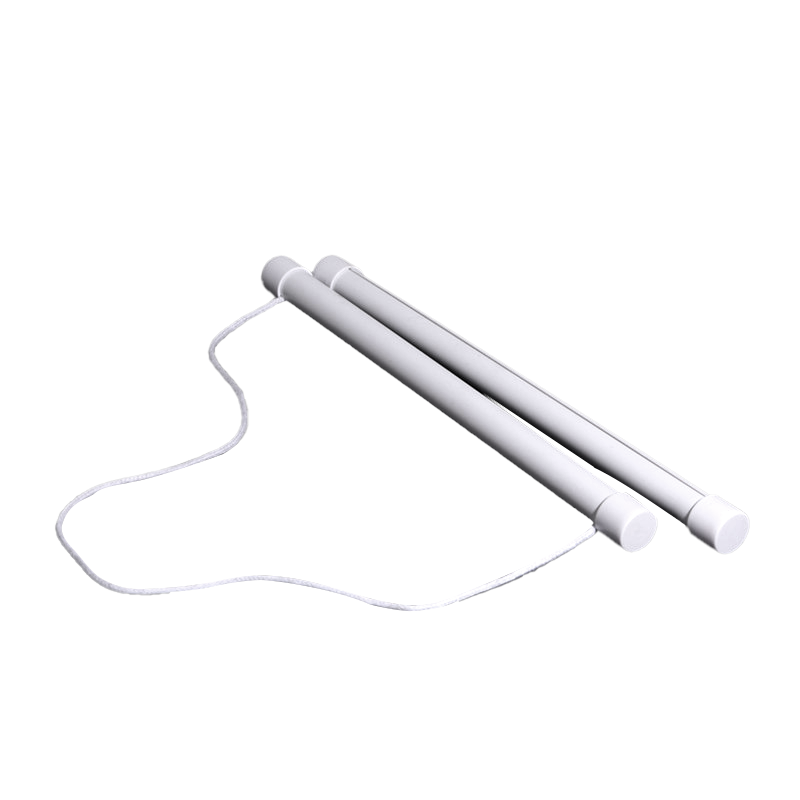
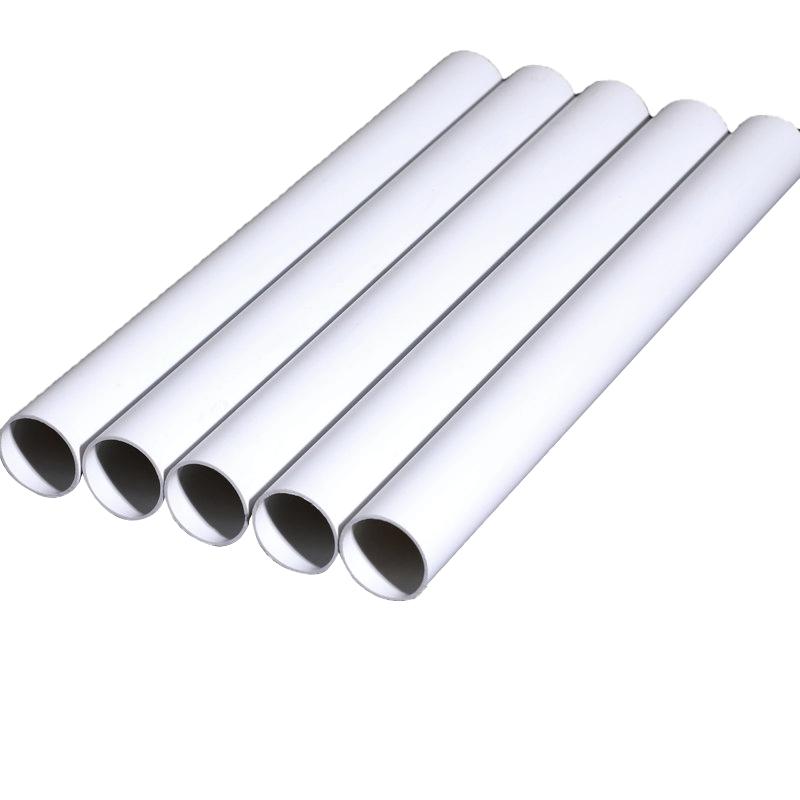
A six-foot PVC hand-waving flagpole can be set in a ground sleeve in under an hour, but the base still decides whether it stays straight. Most failures start before the flag goes on: the hole is too shallow, water collects around the sleeve, or the pole is forced out of plumb while the concrete sets. The reliable sequence is straightforward. Pick a clear spot, dig a hole sized to the pole and soil, set a sleeve or anchor, cure the base, and only then load the flag. For lightweight PVC poles used at events, storefronts, or along walkways, a removable ground sleeve is often a better choice than permanently concreting the pole itself. Content Start with the pole, not the shovel. A 6-foot hand-waving flagpole and a 20-foot exposed mast do not need the same foundation. The first decision is whether the pole will stay in one place for years or come out after a season, a festival, or a sales event. For a permanent installation, a common starting point is to bury at least 10% of the exposed height. A 10-foot pole gets roughly 1 foot below grade; a 20-foot pole gets about 2 feet. That is a starting point, not a substitute for local code, frost depth, or the pole maker’s instructions. Sandy soil, clay, fill dirt, and slopes all change how wide and deep the hole should be. Wind exposure matters as much as height. A pole at the edge of a parking lot or on open ground sees more steady load than one tucked beside a building. If the site is exposed, choose a larger sleeve, a deeper footing, or a shorter pole rather than hoping the soil will hold. Before digging, mark the exact center and check the path of the flag. The flag should clear roofs, gutters, tree limbs, overhead wires, and passing vehicles. A pole that looks fine at eye level can still slap a branch or trap a halyard when the wind changes. Call the local utility locate service before any excavation. Keep the hole away from sprinkler lines, septic fields, drainage tiles, buried cables, and gas or water lines. If the only practical spot sits near a property line, confirm the setback first; flagpole disputes are cheaper to avoid than to fix. Check the soil with a test dig. A hole that fills with water within a few hours needs drainage before concrete. Rocky ground may need a wider excavation and a gravel base. Loose fill dirt is another warning sign: it may need to be removed and replaced with compacted material, or the footing will move. Dig the hole about three to four times the pole diameter wide. A wider hole gives concrete or compacted gravel more bearing area, and it leaves room to work the sleeve into plumb. Keep topsoil separate from subsoil so the finish grade can be restored cleanly. Scarify the bottom and sides slightly so the concrete keys into the soil. Add 2 to 4 inches of coarse gravel at the bottom, then compact it. The gravel layer gives water somewhere to go and keeps the sleeve from sitting in a mud pocket. In frost-prone areas, extend the base below the local frost line; otherwise, heaving can lift the whole assembly. If the pole will be removed between events, a ground sleeve with a snug cap is easier to maintain than a permanently concreted pole. The sleeve protects the pole, keeps the base clean, and lets you replace a damaged pole without breaking out concrete. Set the sleeve first and brace it. The sleeve should be plumb in two directions, not just one. A 2-foot level checked across the front and side catches the lean that a single reading misses. If the sleeve is short, use a longer level or a plumb line; “eyeballing” it is how poles end up leaning after the first rain. Keep concrete out of the sleeve. Cap the top, or stuff a rag around the opening, and check it again after placing concrete. The pole should slide in and out without force, but it should not rattle. A sleeve that is too loose wears the pole and makes the flag wobble; a sleeve that is too tight traps grit and can seize. When you order several poles, confirm that the sleeve diameter matches the pole outside diameter. A few millimeters of play is normal; a sloppy fit is not. Standardizing the sleeve and pole size across a batch saves time on site and makes replacement simple. Use a concrete mix rated for the job and follow the bag instructions. Add water gradually; a mix that is too wet loses strength and can shrink away from the sleeve. Place the concrete in lifts of a few inches and tamp each lift to remove air pockets. Do not dump the whole hole at once and hope it settles evenly. Finish the top with a slight slope away from the sleeve. A flat or dished top holds water, and standing water is the enemy of both concrete and plastic. Leave the sleeve cap in place until the concrete has cured. If the mix calls for moist curing, cover the concrete with plastic or a damp cloth rather than letting it dry in direct sun. For a light pole in a low-traffic yard, some installers use a dry-set concrete method, but it still needs the same hole preparation and bracing. Read the product instructions and keep water away until the set begins. Check plumb again immediately after placing concrete. Brace the sleeve with stakes and boards so it cannot move while the mix sets. Mark the brace or take a photo of the level; small movements are easy to forget and hard to correct later. Cure time depends on the mix, temperature, and weather. Twenty-four hours is a common minimum for light use; longer is safer for a pole that will carry a flag in steady wind. Do not hang the flag, lean a ladder against the pole, or let children swing on it during curing. In cold weather, protect the concrete from freezing; in hot, dry weather, keep it moist. If you are choosing between a taller plastic pipe and a metal mast, review how plastic pipe flagpoles behave under stress and bending before you dig. The footing can be perfect and the pole still too flexible for an exposed site. After curing, slide the pole into the sleeve and check the fit. Install the flag hardware according to the pole design, and leave enough clearance for the flag to move without wrapping around a light, branch, or sign. A tight halyard and a clean attachment point reduce wear and noise. Backfill around the concrete with soil, then restore grass or gravel. Keep the finished grade slightly below the sleeve cap so water runs away. If the site is muddy, add a small gravel collar around the base. Inspect the pole after the first strong wind; a new lean or a loose cap is easier to fix before the next storm. If the pole is designed to be carried in a parade or festival walk, skip permanent concrete entirely and use the maker’s portable base or walking mount. A ground sleeve is for a fixed display; a walking pole needs a base that moves with the user. The most common mistakes are easy to list: a hole that is too shallow for the pole height, no gravel or drainage, concrete packed into the sleeve, a sleeve set out of plumb, and a flag loaded before the base has cured. A pole that leans after installation usually points back to one of those five items, not to the flag itself. For a PVC hand-waving flagpole, buying checks should include the outside diameter, the sleeve or socket size, the intended use, and whether the pole is meant for a fixed ground sleeve or a portable base. Custom length and color are useful, but the fit at the base matters more than the finish. Installation is mostly preparation. Get the hole, drainage, sleeve fit, and cure time right, and a lightweight flagpole becomes a low-maintenance fixture. Rush those steps, and the flag will advertise every shortcut.Match the Footing to the Pole and the Soil
Installation case
Typical foundation
Main check
Lightweight PVC hand-waving pole, up to about 8 ft, seasonal use
Removable ground sleeve with gravel base
Sleeve fits the pole without excess wobble and drains freely
Permanent PVC or aluminum pole, 10–15 ft, sheltered site
Concrete footing around a sleeve
Buried depth, soil type, and frost line
Exposed pole, 20 ft or more, or unknown soil
Manufacturer specification or engineered footing
Wind load, local code, and underground utilities
Mark the Spot and Check Underground Services
Dig a Hole That Drains and Holds
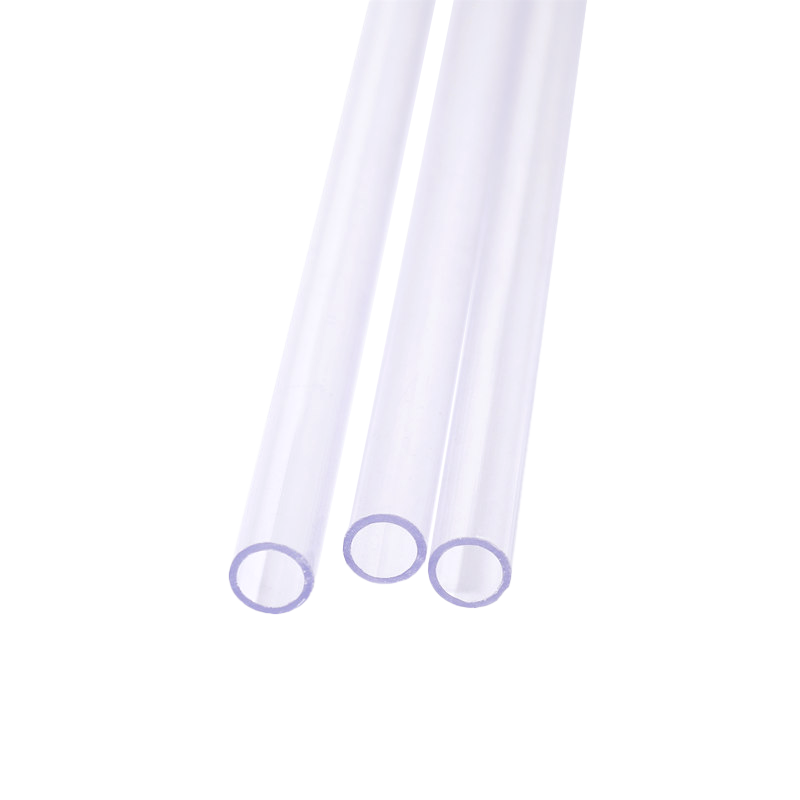
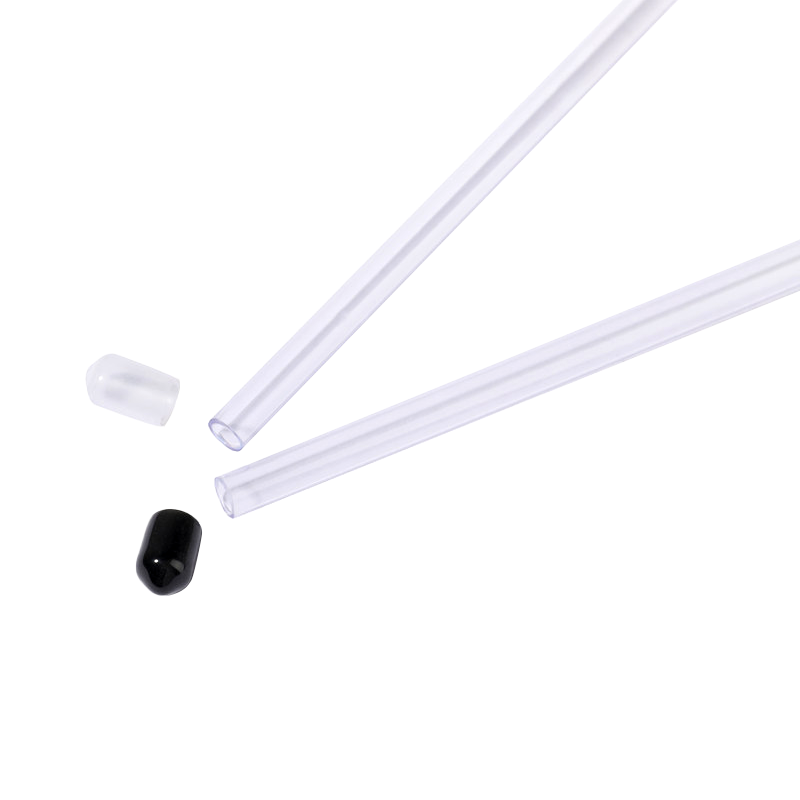
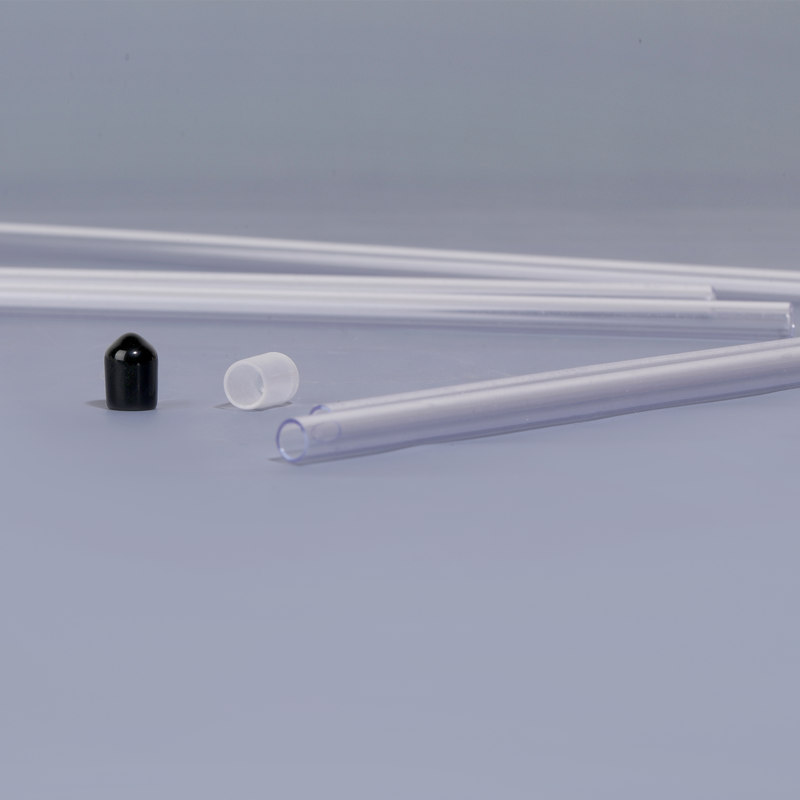 Custom Transparent PVC Hand-Waving FlagpoleCustom transparent PVC hand-waving flagpole with size, color, and printing options; a lightweight choice for flag displays that may be removed between events.View Product →
Set a Sleeve or Anchor Before the Concrete
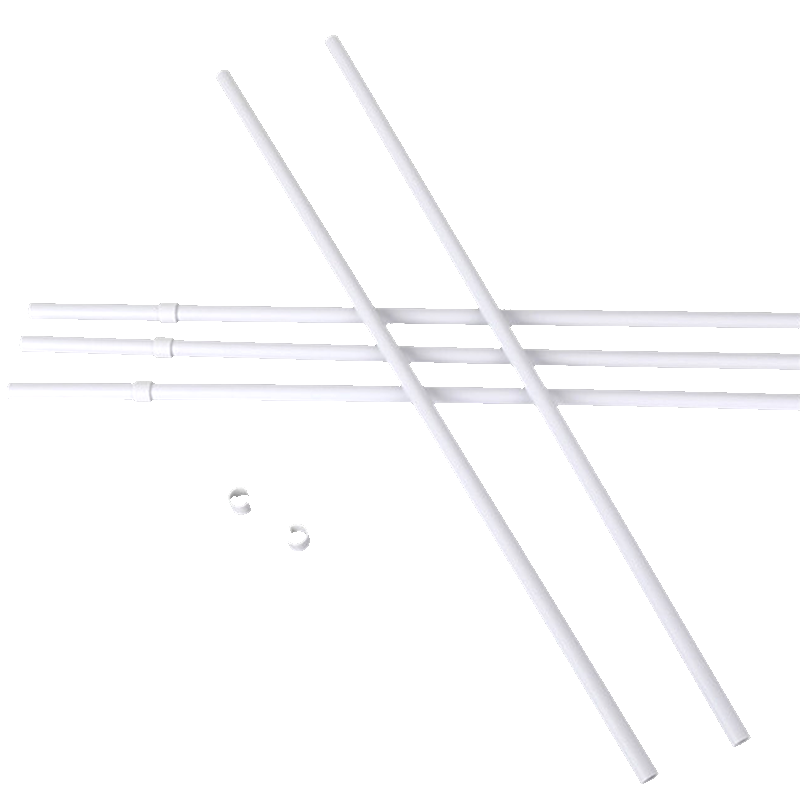
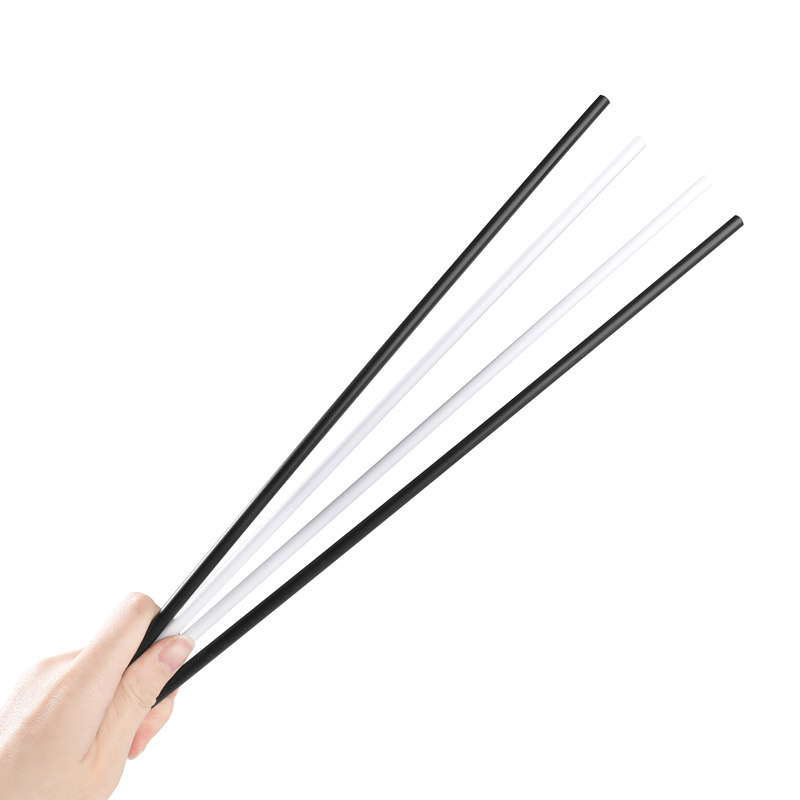 Factory Wholesale PVC Hand-Waving FlagpoleWholesale lightweight PVC hand-waving flagpole with custom size, color, and printing; suited to batch orders where sleeve and pole sizing are standardized.View Product →
Mix, Place, and Slope the Concrete
Plumb, Brace, and Let It Cure
Mount the Flag and Finish the Ground
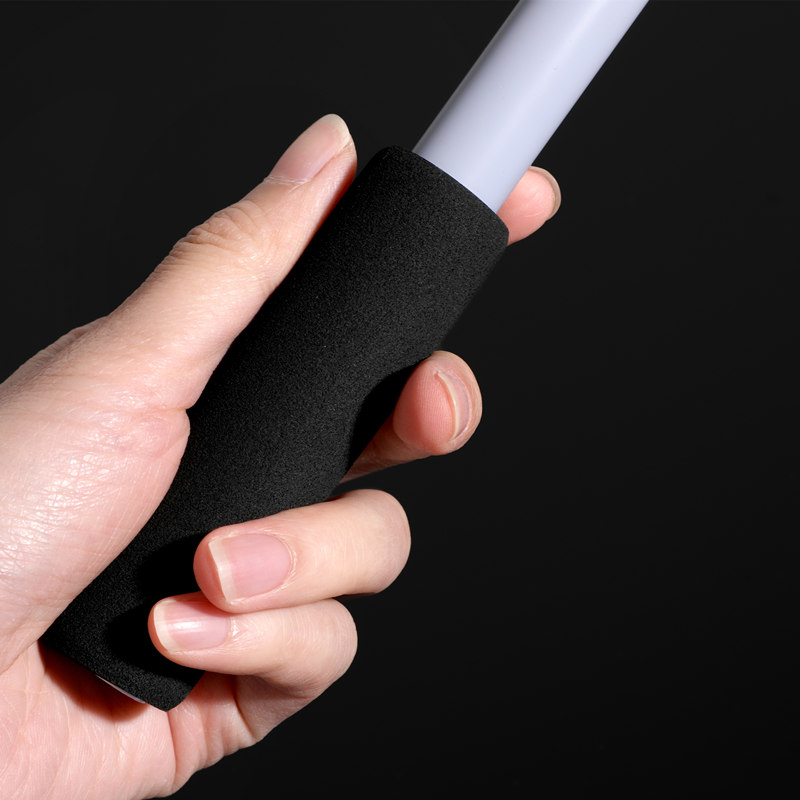 Personalized Festival Walking Hand-Waving FlagpoleCustomizable lightweight plastic hand-waving flagpole for festivals and sports; pairs with a portable or walking mount rather than a permanent concrete base.View Product →
Common Installation Mistakes and Buying Checks
Recommended products
-
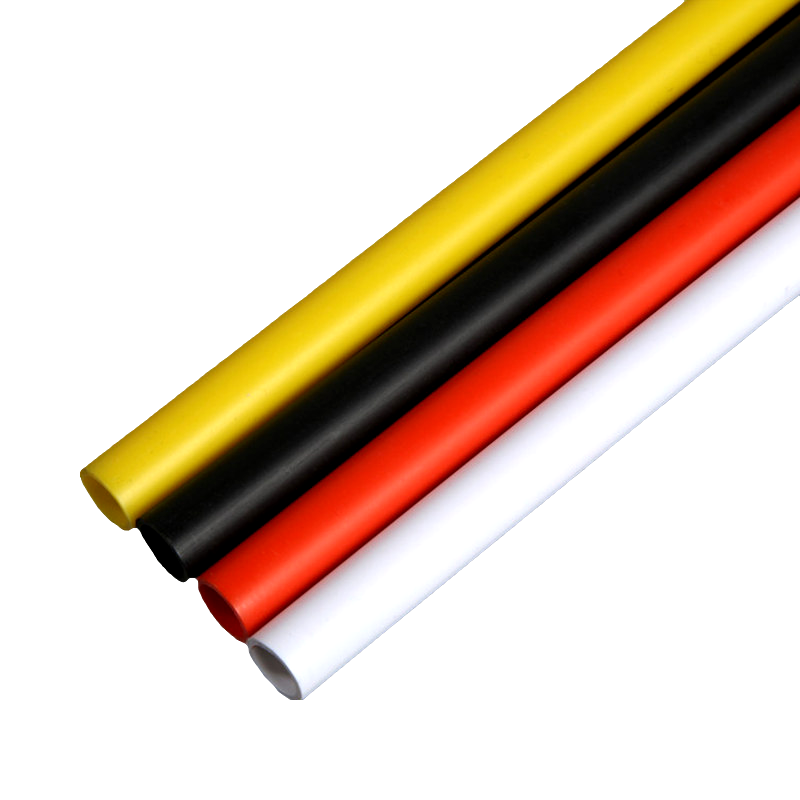
2023 New Cheap Plastic Pipe Multiple Colors And Sizes Custom Hand Waving Flagpole
-
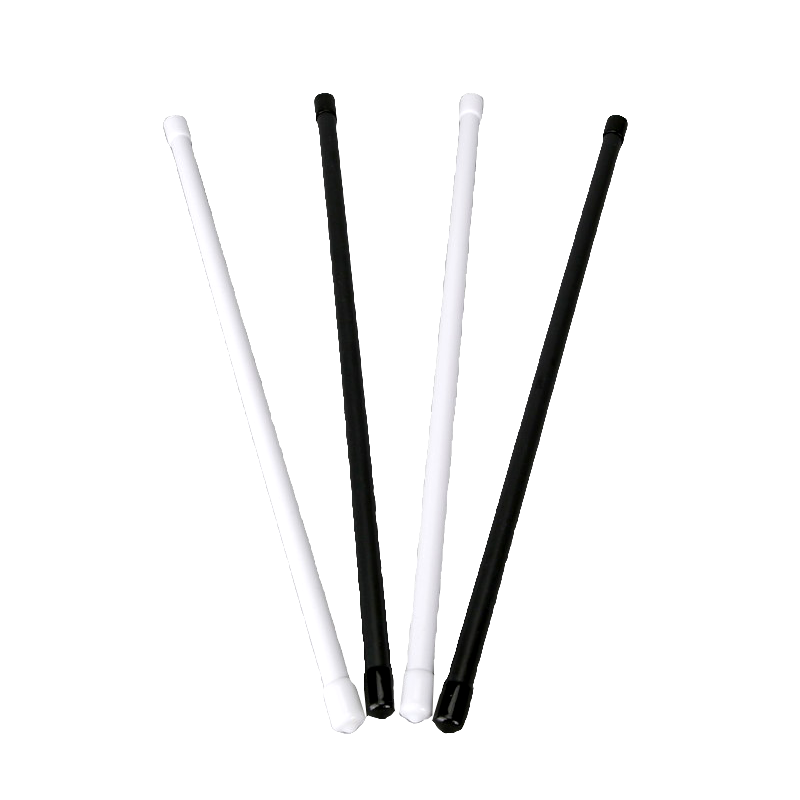
Wholesale Custom Pvc Material Indoor Desktop Flagpole Hand Waving Flagpole
-
Customizable Size Custom Logo Plastics Hand Waving Flagpole Big Pvc Flagpole
-
Plastics Hand Waving Flagpole Factory Direct Custom Wholesale PVC Flagpole Parts Pipe
-
Custom Easy Install Safety Flagpole Pvc China Factory Hand Waving Flagpole
-
New Popular Product Transparent Pvc Flagpole Custom Size Hand Waving Flagpole
-
2023 High Quality Hand Waving Flagpole Big Or Small Flagpole Size Custom
-
Fast Delivery Promotion Factory Wholesale Flagpole Pvc Pipe Hand Waving Flagpole
-
2023 Personalized Custom Desk Hand Waving Flagpole Outdoor White Flagpole
-
Wholesale 2023 Hot Sale Used Flagpole Weight Custom Pvc Hand Waving Flagpole
-
Wholesale Products Cheap High Quality Hand Waving Flagpole Newest Sections Flagpole
-
Wholesale Cheap High-Quality Hot Sale Flagpole Cylindrical Hand Waving Flagpole
Follow Us:
Copyright © Tongxiang Guangyu Plastic Products Co., Ltd. Rights Reserved.
