
 +86-0573-88528475
 English
 русский
Search by posts
Product category
Industry News
 By Admin
How High to Mount a Flagpole Bracket on a House: The Complete Height Guide
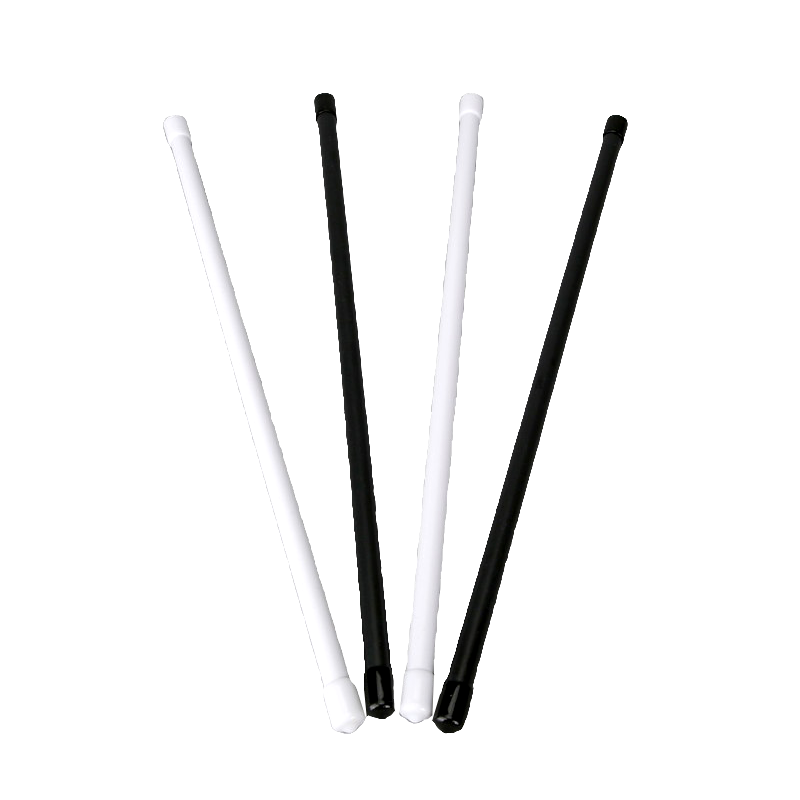
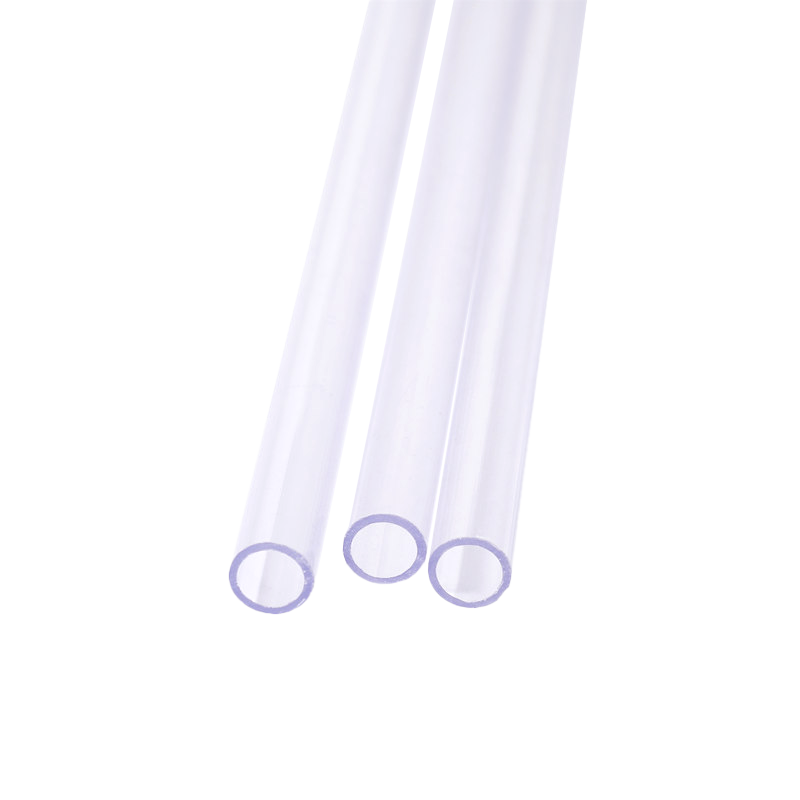
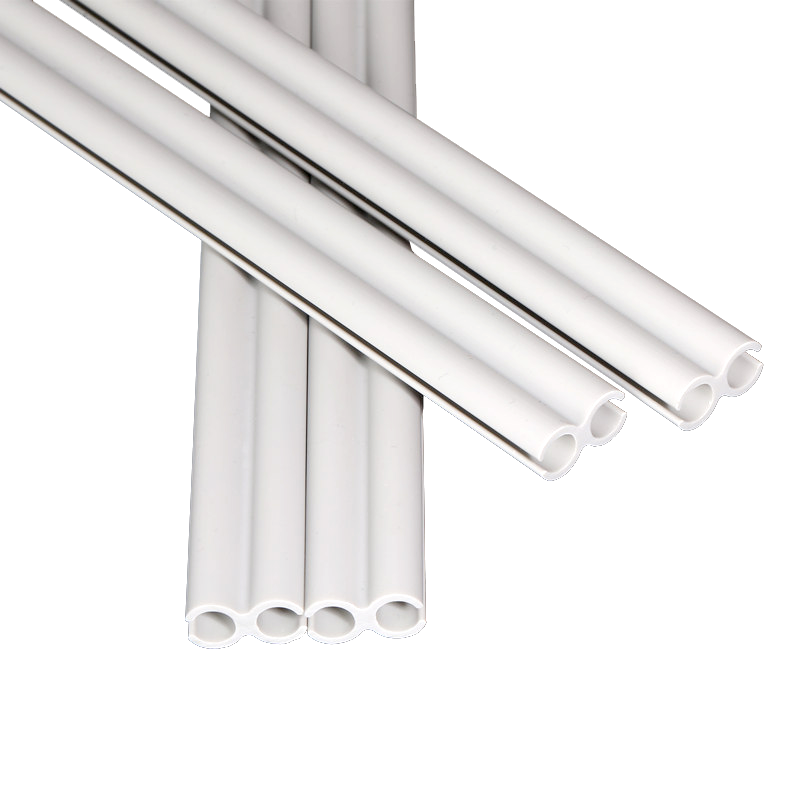
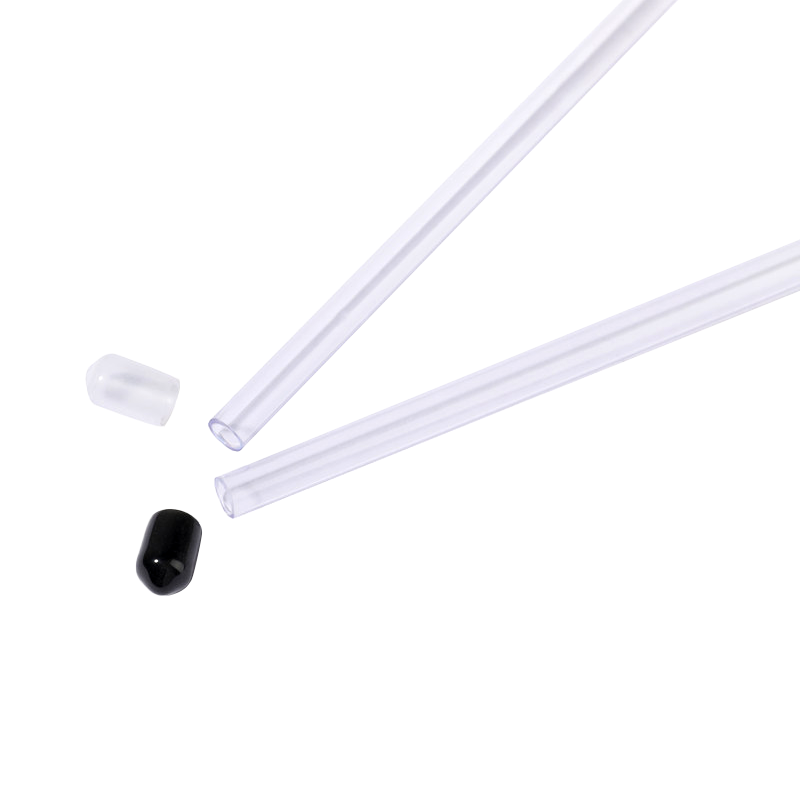
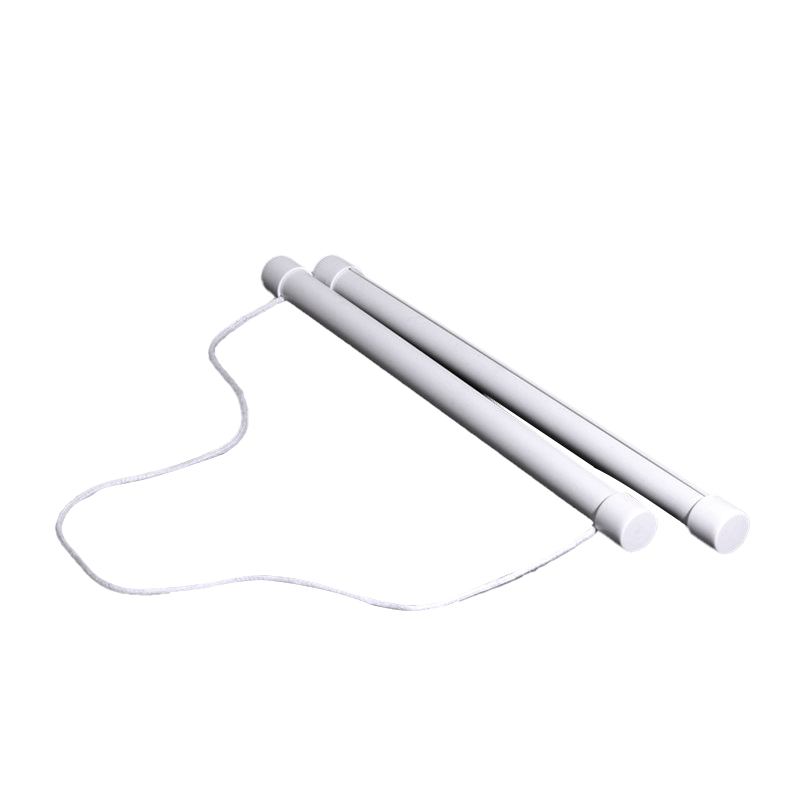
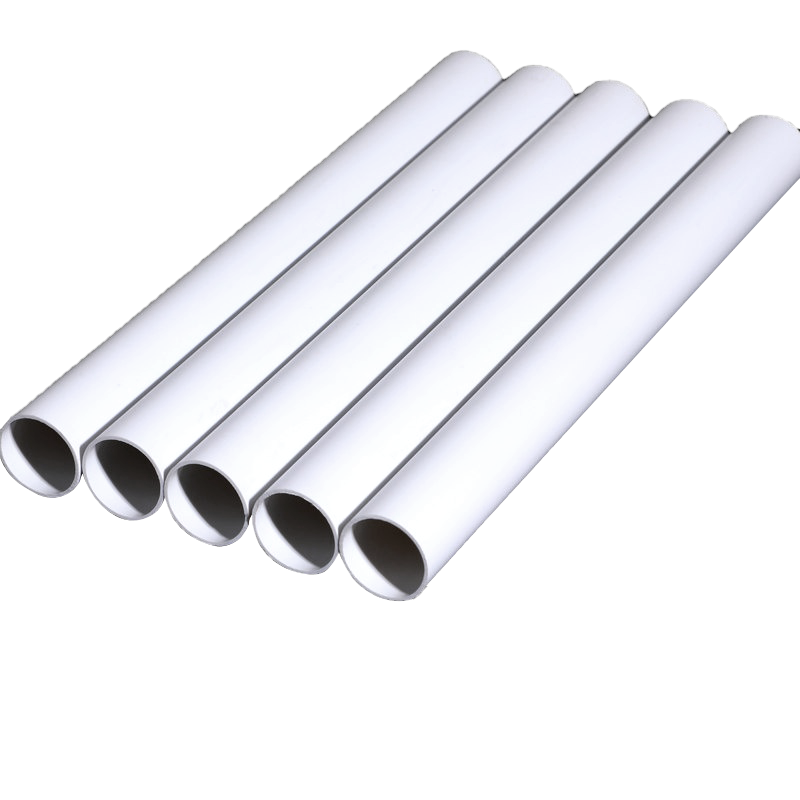
The short answer: mount the bracket 5 to 7 feet above the ground, with the exact height set by your eave line, pole length, and flag size. For a standard 3x5 ft flag on a 6 ft pole set at a 45-degree angle, a bracket height of about 6 feet puts the flag tip at roughly 10 feet off the ground — a balanced look on most single-story homes. Mount it too low and the flag becomes a head-height hazard; mount it too high and you need a ladder just to change the flag. Content No single universal number fits every house, but the practical range for residential wall-mounted brackets is 5 to 7 feet above grade. Within that range, four variables determine the exact spot: Measure from grade at the base of the wall, not from the porch floor or a planter bed. If the ground slopes, use the highest walking surface within 3 feet of the flag and keep the same clearance there. A tape measure and a chalk line will give you a far more accurate result than eyeballing from the driveway. Most residential brackets hold the pole at a fixed or adjustable 45-degree angle. These angled holders, often called outrigger brackets, present the flag to the wind while keeping the pole clear of the wall and windows, but they also change the height calculation. Because the pole rises diagonally, the tip gains only about 71 percent of the pole's length. The formula is simple: tip height = bracket height + (pole length x 0.707). For example, a bracket at 6 feet with a 6-foot pole produces a tip height of about 10.2 feet. With a 5-foot pole, the same bracket gives about 9.5 feet. If the flag tip ends up below the eave line, it will slap against the siding or gutter in wind. If it rises too far above the roofline, the display looks top-heavy and puts extra leverage on the bracket, which matters more in storm season. If your bracket has an adjustable angle, experiment between 30 and 60 degrees before tightening. A shallower angle lowers the pole tip and reduces roof clearance; a steeper angle raises it and increases the flag's visibility. Whatever angle you choose, keep the pole at least 1 inch off the siding so the mounting collar does not rub the paint. Pole material affects both weight and longevity. A lightweight PVC pole reduces the load on the bracket and never rusts, which is why many homeowners pair house-mounted brackets with lightweight custom-size PVC flagpoles. The material resists splintering and is easy to handle during installation, making it a sensible DIY option. In coastal or humid climates, PVC is especially practical because it will not corrode like metal or rot like wood — if you are still comparing materials, review how plastic flagpoles compare with aluminum or wood before you commit. Diameter compatibility is just as important. Most house brackets are sized for a 1-inch pole, so check the product specification before ordering. Manufacturers now supply easy-install flagpole designs with a consistent outer diameter and a smooth surface, which makes it much easier to seat the pole in the bracket correctly on the first try. If sustainability matters to you, ask whether the pipe was produced with recycled content and RoHS-compliant formulations. Many suppliers now publish their approach to sustainable PVC flagpole production, and knowing those details helps you choose a pole that will not degrade in UV light or leach plasticizers over years of outdoor use. Follow these steps once you have settled on the height. The whole job takes about 30 minutes with basic tools: If you are mounting on brick or stucco, use a hammer drill with masonry anchors. For insulated siding, corrugated steel, or a wall that feels soft behind the finish, a professional installation is worth the cost — the bracket is only as strong as the surface behind it. After the bracket is mounted, run through the checklist: the pole inserts and locks without force, the flag flies clear of the wall and roofline, the lowest edge of the flag stays above head height, and the bracket does not flex when you pull on the pole. Re-check these points after the first windy day, because fasteners sometimes seat deeper once the assembly settles. Also check local flag codes and HOA rules before drilling. Some municipalities and homeowners' associations restrict where a flag may be displayed on a house, while some state laws protect the right to fly a flag within reasonable limits. A quick confirmation now saves a removal and reinstallation later. Finally, think seasonally. In heavy snow or high wind, a shorter pole at a lower angle is easier on the bracket, and many manufacturers recommend removing the flag when wind speeds exceed 30 mph. A bracket mounted at the right height is one you rarely have to think about — which is exactly the point.The Height Rule: 5 to 7 Feet, Adjusted to Your House
House Type
Typical Eave Line
Recommended Bracket Height
Pole Length
Flag Size
Single-story ranch
8-10 ft
6 ft
5-6 ft
3x5 ft
Two-story house
18-20 ft
7-8 ft
5-6 ft
4x6 ft
Bungalow or cottage
7-9 ft
5-6 ft
4-5 ft
2x3 to 3x5 ft
Why the 45-Degree Angle Changes the Height Math
Calculate the Tip Height
Adjust the Angle for Your Roofline
Choose a Pole That Suits Your Bracket
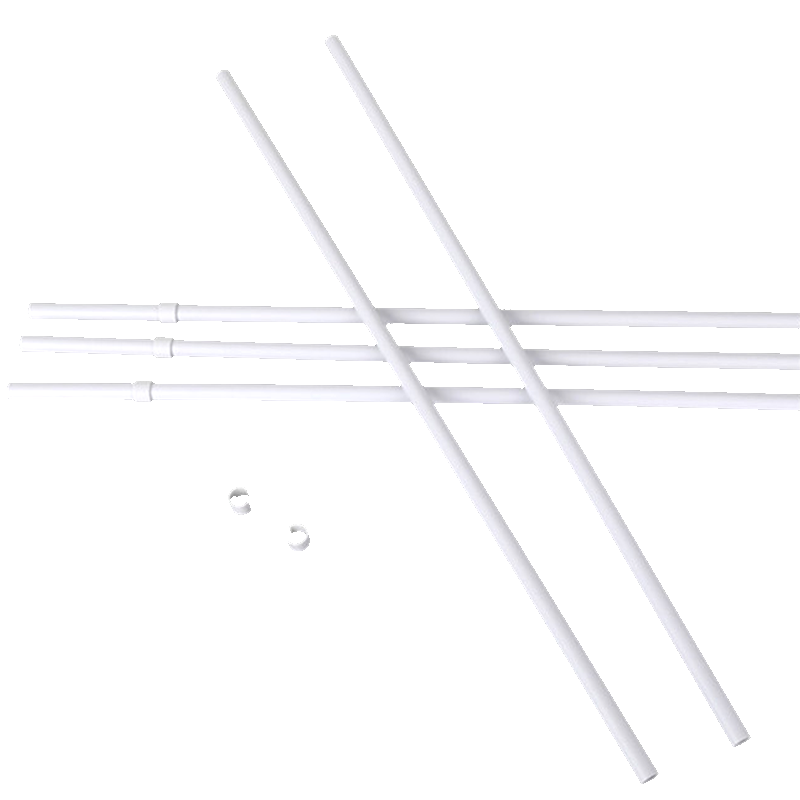
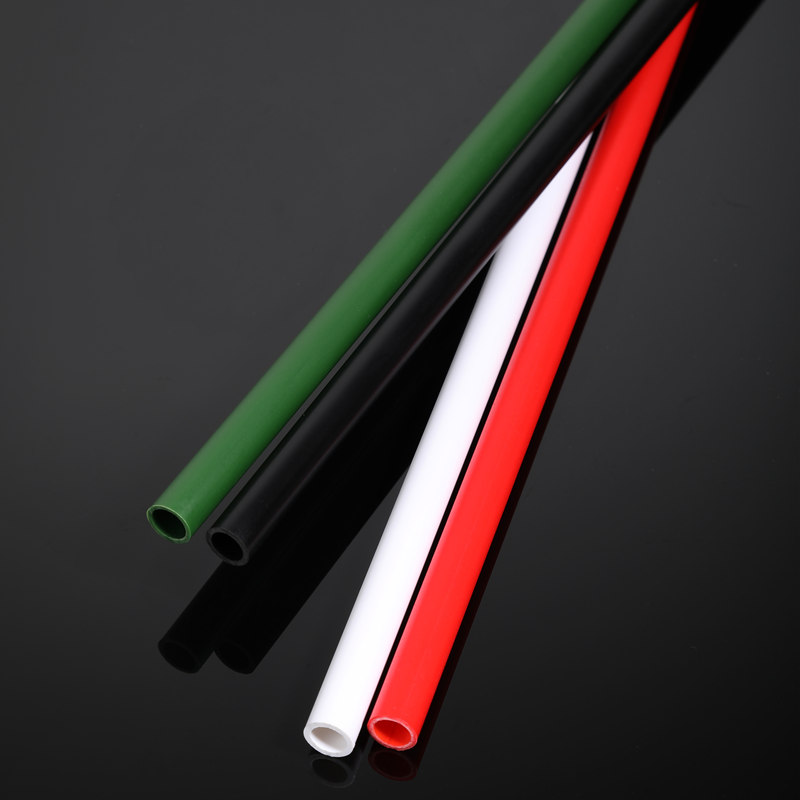 OEM/ODM 2023 Custom Size Wholesales Hand Waving Flagpole Motion Hand Flagpole OuTongxiang Guangyu Plastic Products Co., Ltd is China OEM/ODM 2023 Custom Size Wholesales Hand Waving Flagpole Motion Hand Flagpole Outdoo...View Product →
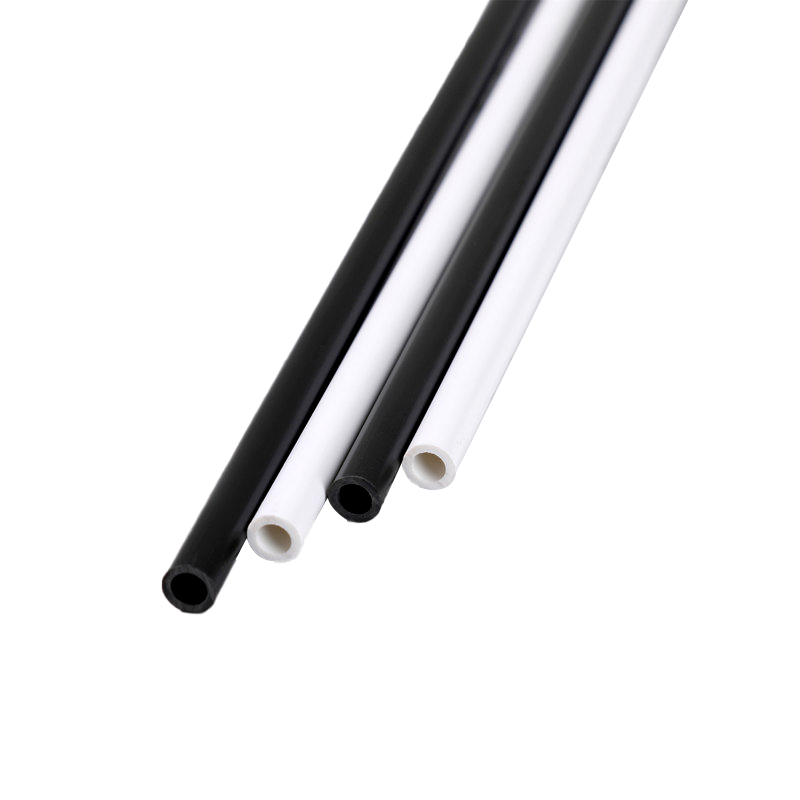
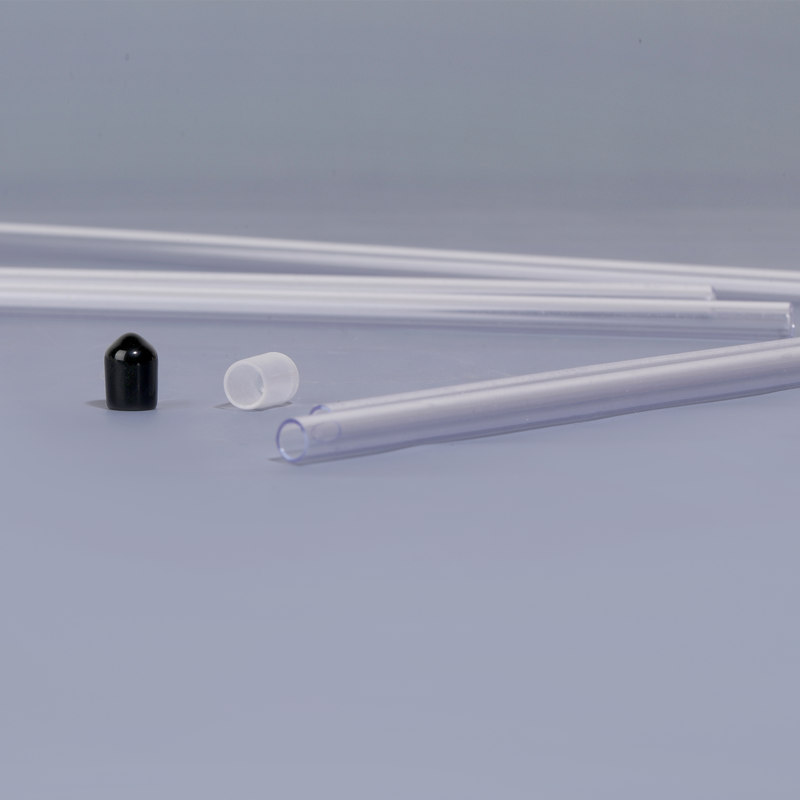 OEM/ODM New Popular Product Transparent Pvc Flagpole Custom Size Hand Waving FlaTongxiang Guangyu Plastic Products Co., Ltd is China OEM/ODM New Popular Product Transparent Pvc Flagpole Custom Size Hand Waving Flagpol...View Product →
How to Mount the Bracket at the Right Height
Common Mounting Mistakes to Avoid
Final Checks Before You Call It Done
Recommended products
-
2023 New Cheap Plastic Pipe Multiple Colors And Sizes Custom Hand Waving Flagpole
-
Wholesale Custom Pvc Material Indoor Desktop Flagpole Hand Waving Flagpole
-
Customizable Size Custom Logo Plastics Hand Waving Flagpole Big Pvc Flagpole
-
Plastics Hand Waving Flagpole Factory Direct Custom Wholesale PVC Flagpole Parts Pipe
-
Custom Easy Install Safety Flagpole Pvc China Factory Hand Waving Flagpole
-
New Popular Product Transparent Pvc Flagpole Custom Size Hand Waving Flagpole
-
2023 High Quality Hand Waving Flagpole Big Or Small Flagpole Size Custom
-
Fast Delivery Promotion Factory Wholesale Flagpole Pvc Pipe Hand Waving Flagpole
-
2023 Personalized Custom Desk Hand Waving Flagpole Outdoor White Flagpole
-
Wholesale 2023 Hot Sale Used Flagpole Weight Custom Pvc Hand Waving Flagpole
-
Wholesale Products Cheap High Quality Hand Waving Flagpole Newest Sections Flagpole
-
Wholesale Cheap High-Quality Hot Sale Flagpole Cylindrical Hand Waving Flagpole
Follow Us:
Copyright © Tongxiang Guangyu Plastic Products Co., Ltd. Rights Reserved.
