
 +86-0573-88528475
 English
 русский
Search by posts
Product category
Industry News
 By Admin
Flag Pole Installation Instructions: Step-by-Step Guide for Every Mount Type
When a 20-foot sectional flagpole kit arrives, the most common surprise is not the pole itself; it is the instruction sheet. One drawing shows a hole, another shows a sleeve, and nowhere does it say how deep to dig, when to pour concrete, or how long to wait before raising the flag. In my years of manufacturing PVC plastic flagpoles, I have seen more installation failures caused by bad site preparation than by faulty hardware. The rule that solves most of them is simple: decide which mounting method your pole is designed for (permanent in-ground, wall-mounted, or portable hand-waving) before you start digging. This guide covers the flag pole installation instructions for all three types, with the dimensions, tolerances, and sequencing that actually matter. Content Every flag pole installation instruction set starts with the same decision because the mounting method determines the hole size, the hardware, and the tools. A sectional aluminum pole with a ground sleeve is engineered to sit in concrete. A PVC hand-waving pole is engineered to assemble in seconds without a single tool. Choosing the wrong installation method for the pole design is the quickest way to end up with a leaning structure or a torn flag in the first strong wind. In-ground installation offers the most stability and suits poles that stay in place for years. Wall mounting works when ground space is unavailable and the pole is short enough to keep wind loads manageable. Portable hand-waving poles need no permanent fixing, and the expected lifespan of plastic flagpoles compared with aluminum or wood is one reason they are now widely chosen for temporary and event use. Match the mounting category to the pole design and the site, and the rest of the instructions become straightforward. For a permanent flagpole, the concrete footing is the real structure; the pole is only an attachment. Correct footing work keeps the pole straight for decades. These steps follow the same sequence used by professional installers and most manufacturer manuals. Call your local utility locating service before you dig. Mark the center point, then excavate to a depth equal to 10-15 percent of the exposed pole length and a width three to four times the pole diameter. For a 20 ft pole, that means a hole roughly 3 ft deep and 14-16 in wide. If the manual that came with your kit gives different numbers, follow the manual. Fill the bottom 6-8 in of the hole with 3/4 in crushed gravel. The gravel keeps water from pooling under the sleeve, preventing frost heave in cold climates and corrosion at the base of the pole. Slope the hole walls slightly outward so rainwater does not collect in the excavation. Set the ground sleeve in the center of the hole with its top 1-2 in above the finished grade so rainwater runs away from the opening. Check the sleeve vertically with a 4-ft level from two sides 90 degrees apart, then brace it with stakes. Mix ready-mix concrete to a stiff consistency and pour it in layers, using a rod to release trapped air. If your pole includes an internal light fixture, route the wiring through the sleeve before pouring and leave a conduit stub above grade. Do not reposition the sleeve once the concrete starts to set. Assemble the pole sections on the ground using the supplied pins, set screws, or snap buttons. Raise the completed pole into the sleeve and check it with a level on two faces. Tighten the set screws just enough to hold the pole, then install the halyard and snap hooks and attach the flag. Wait at least 24 hours before letting the pole take full wind load, and 48 hours in cool or humid weather. For tall poles in open fields, install a grounding kit that connects the pole to a ground rod after the concrete has cured. Wall mounting suits poles no longer than 6 ft, where bracket spacing and wall structure can manage the leverage. Use two brackets positioned 3-4 ft apart, with the lower bracket carrying most of the load. Leave at least 10 in of clearance between the wall and the pole so the flag does not slap against the siding or brick. For a tapered pole, the wider end belongs in the lower bracket. Check that the pole can rotate freely in the upper bracket so thermal expansion does not distort the mount. Portable flagpoles follow a different installation logic: no digging, no concrete, and no power tools. Most designs use two or three sections that friction-fit together, and the base option is chosen for the surface where the pole will stand. For walking parades and festival booths, a walking-mount pole keeps the flag at eye level and sets up in seconds with no surface preparation. For vehicle use, the same friction-fit sections lock into a mount that holds the pole steady on rough roads and uneven terrain. Install speed is the main advantage. A PVC hand-waving flagpole goes from storage to flying in under a minute, and the material does not dent like thin aluminum. Before choosing a pole for a windy site, check whether a PVC flagpole can bend or break under stress, because thicker wall profiles handle repeated flexing much better. Factory-made easy-install models add a safety collar that stops sections from separating during use. The failures that cause the most service calls are not dramatic; they are the result of skipped steps. Avoid these errors: Flag pole installation instructions come down to three questions: what is the pole designed for, what does the site allow, and what will the weather do? Answer those before you dig, and the assembly itself takes only minutes. For permanent poles, invest time in the footing and drainage. For temporary use, choose a portable hand-waving pole built for fast setup and safe handling, and you will get years of reliable service.Match the Installation Method to the Pole and Site
Installation type
Typical pole length
Base requirement
Installation time
Best used for
In-ground fixed
15-25 ft
Concrete footing with gravel drainage
4-6 hours plus 24-48 hours curing
Permanent displays, high-wind areas
Wall mounted
3-6 ft
Wall brackets with masonry or wood anchors
30-60 minutes
Porches, storefronts, balconies
Portable hand-waving
6-12 ft
Ground spike, weighted base plate, or vehicle mount
1-5 minutes
Events, rallies, parades, temporary displays
In-Ground Flagpole Installation Instructions
1. Mark and Dig the Hole
2. Add the Drainage Layer
3. Set the Ground Sleeve and Pour Concrete
Pole length above ground
Hole depth
Hole width
60-lb concrete bags
15 ft
2.5-3 ft
12 in
4-5
20 ft
3-3.5 ft
14-16 in
6-8
25 ft
3.5-4 ft
16-18 in
8-10
4. Assemble, Raise, and Align the Pole
Wall-Mounted Flagpole Installation Instructions
Portable and Hand-Waving Flagpole Setup
Choose the Base for the Surface
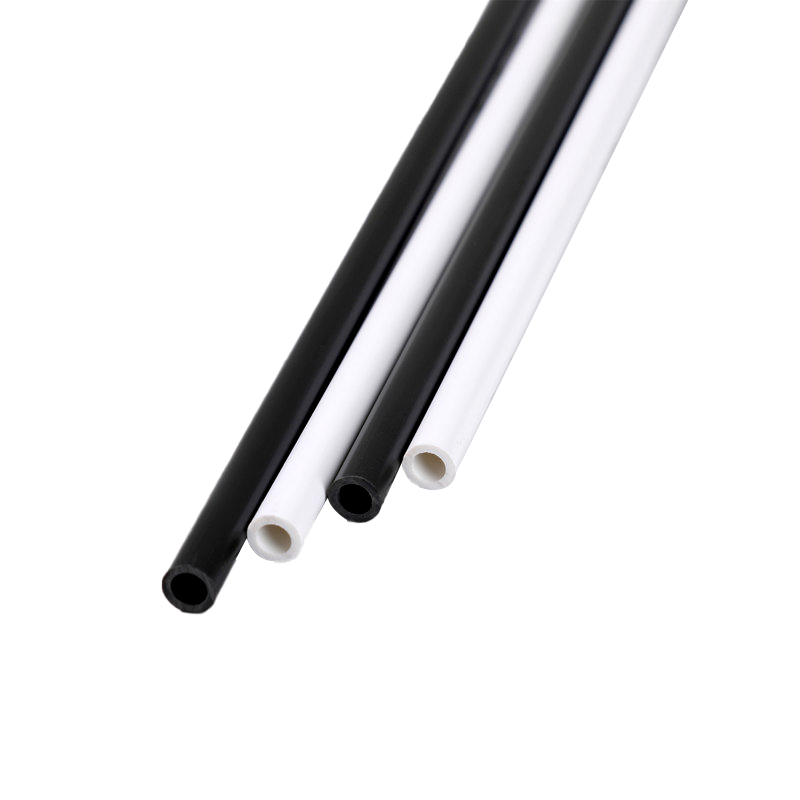
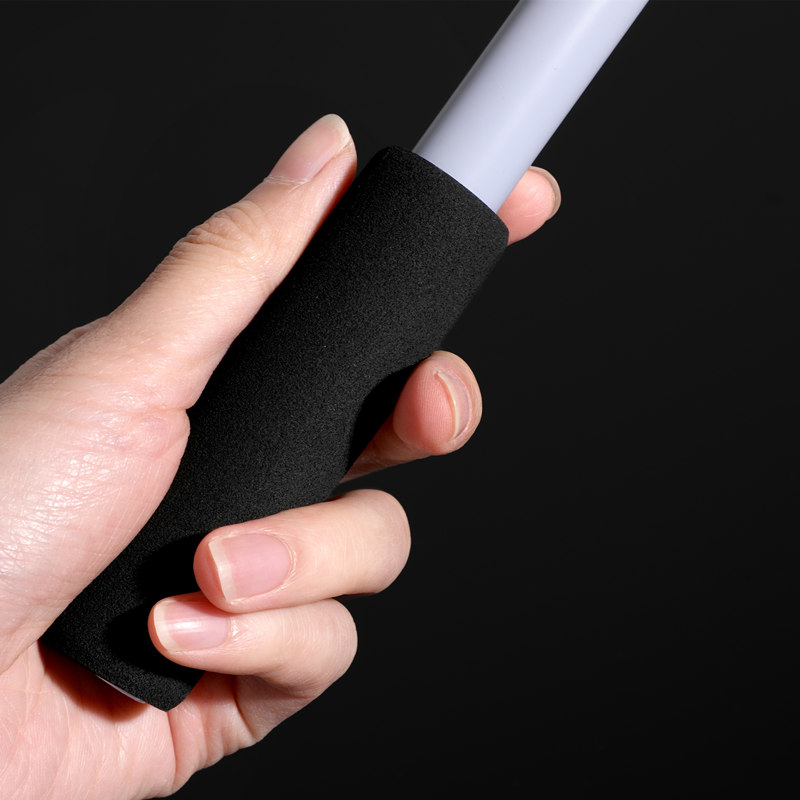 Festival Walking Mount Flagpole with Custom GraphicsThis hand-waving flagpole features a walking mount that sets up in seconds for parades and booths, with customizable colors and sizes suited for eye-level display.View Product →
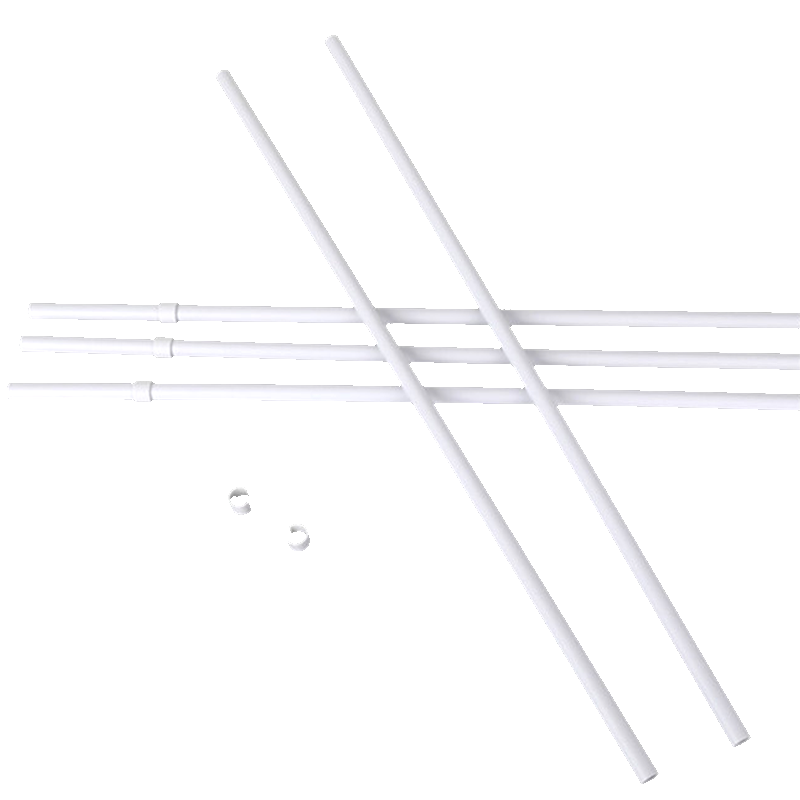
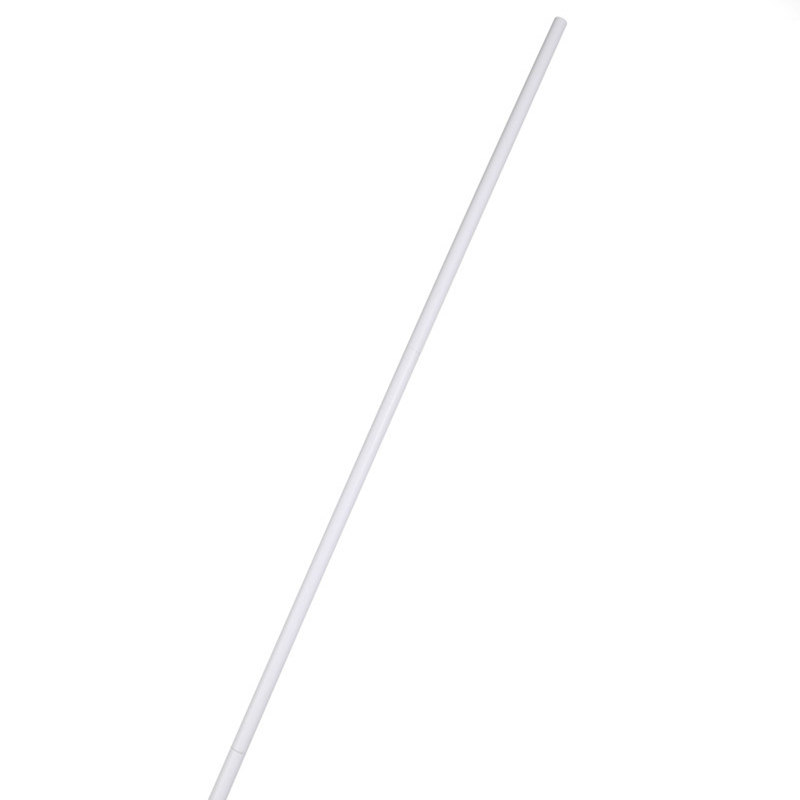 Custom Hand Waving Flagpole for Vehicle and Offroad UseDesigned for car and offroad mounting, this lightweight PVC flagpole installs in under a minute and resists denting, making it a practical choice for rough terrain.View Product →
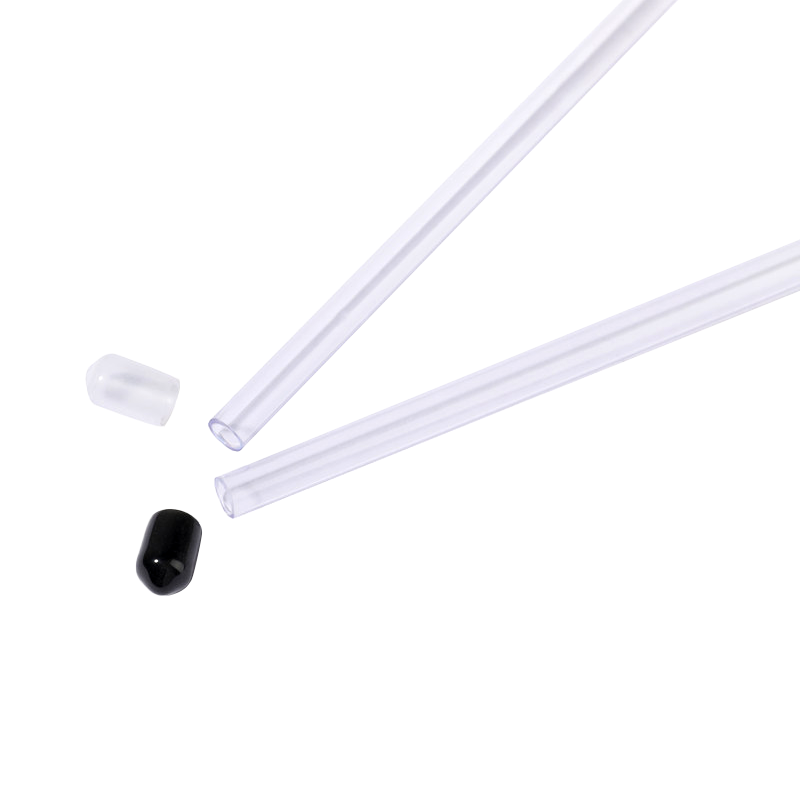
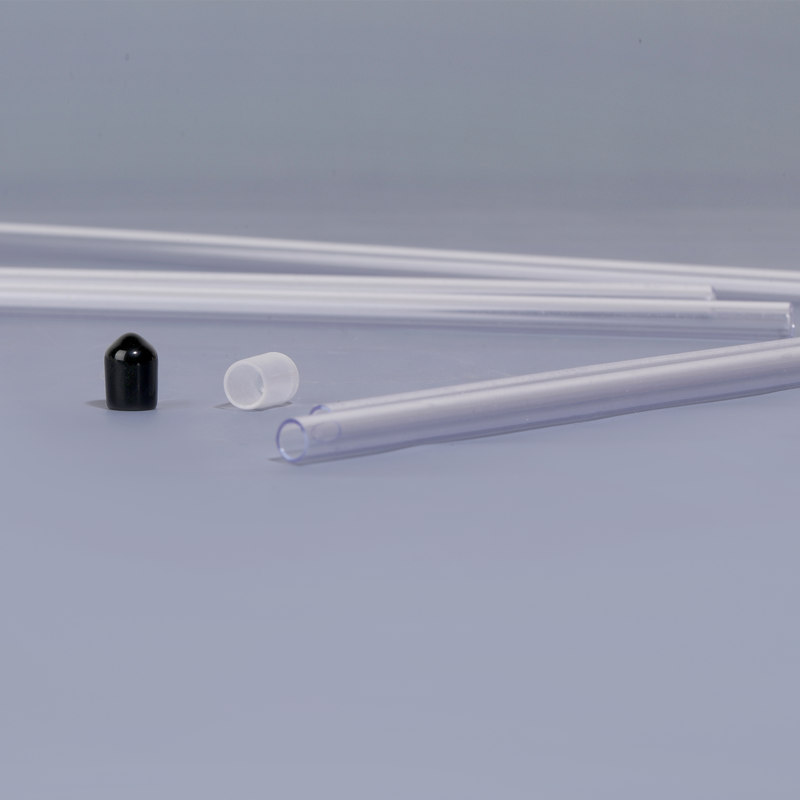 Transparent PVC Flagpole with Customizable SizeThis see-through PVC flagpole offers custom sizing and easy assembly, while its thicker wall profile handles repeated flexing to help avoid installation and stress failures.View Product →
Installation Mistakes That Shorten Flagpole Life
Recommended products
-
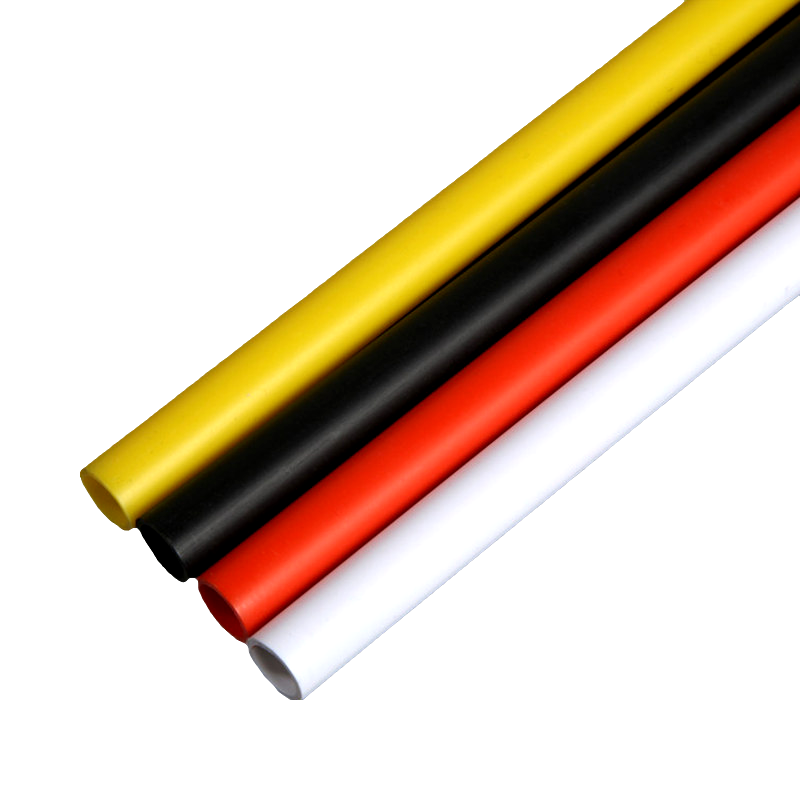
2023 New Cheap Plastic Pipe Multiple Colors And Sizes Custom Hand Waving Flagpole
-
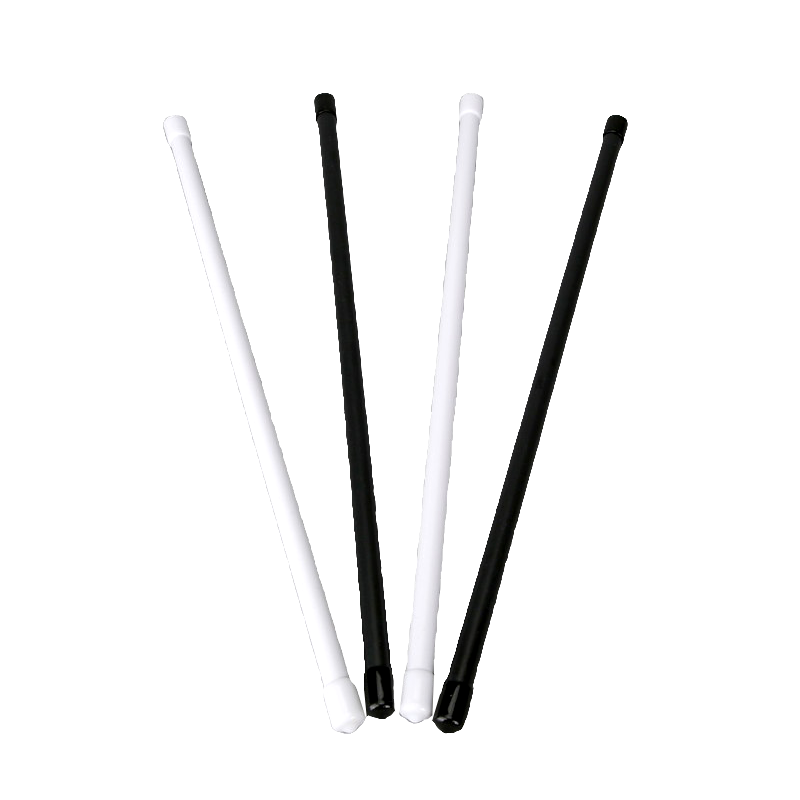
Wholesale Custom Pvc Material Indoor Desktop Flagpole Hand Waving Flagpole
-
Customizable Size Custom Logo Plastics Hand Waving Flagpole Big Pvc Flagpole
-
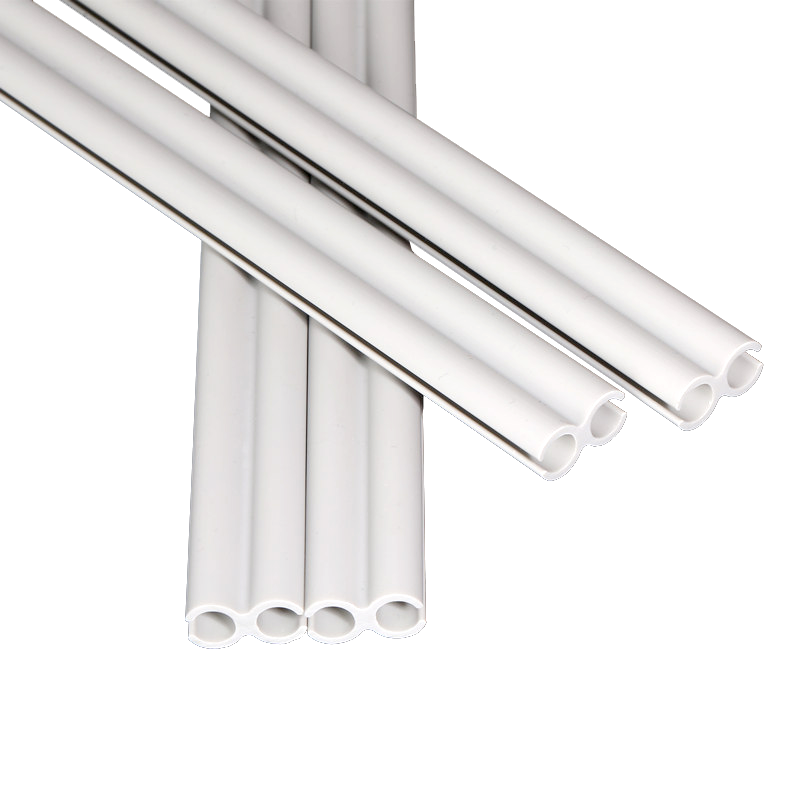
Plastics Hand Waving Flagpole Factory Direct Custom Wholesale PVC Flagpole Parts Pipe
-
Custom Easy Install Safety Flagpole Pvc China Factory Hand Waving Flagpole
-
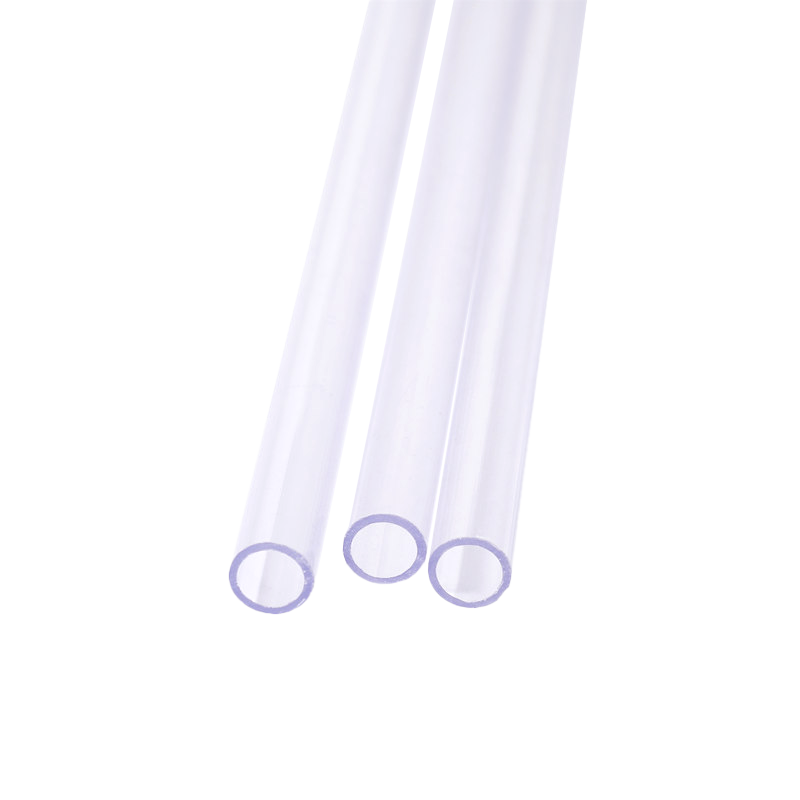
New Popular Product Transparent Pvc Flagpole Custom Size Hand Waving Flagpole
-
2023 High Quality Hand Waving Flagpole Big Or Small Flagpole Size Custom
-
Fast Delivery Promotion Factory Wholesale Flagpole Pvc Pipe Hand Waving Flagpole
-
2023 Personalized Custom Desk Hand Waving Flagpole Outdoor White Flagpole
-
Wholesale 2023 Hot Sale Used Flagpole Weight Custom Pvc Hand Waving Flagpole
-
Wholesale Products Cheap High Quality Hand Waving Flagpole Newest Sections Flagpole
-
Wholesale Cheap High-Quality Hot Sale Flagpole Cylindrical Hand Waving Flagpole
Follow Us:
Copyright © Tongxiang Guangyu Plastic Products Co., Ltd. Rights Reserved.
